
Urban Decay Naked 2 Basics Palette Tutorial
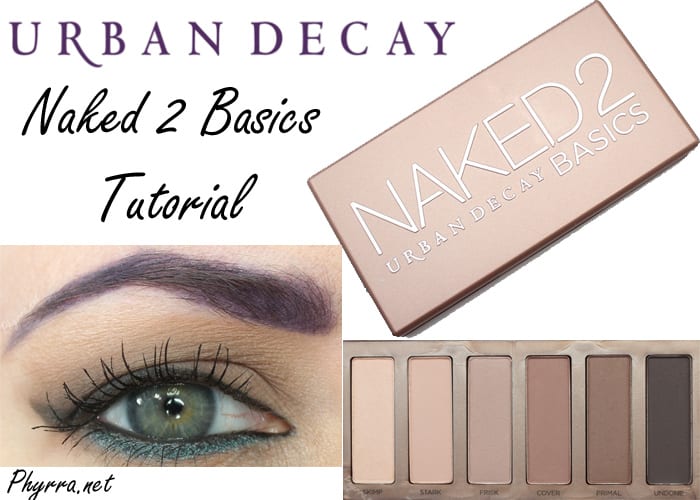
Happy Friday! Today I’ve got my Urban Decay Naked 2 Basics Palette tutorial to share with you. The Naked 2 Basics palette features many taupe shades, so if you’re a taupe lover you’re going to go crazy over it. You can check out my Naked 2 Basics Palette review. I also filmed a video comparing the Naked Basics, Pulp Fiction and Naked 2 Basics palettes, so that if you want to narrow it down to just one palette, you can easily do that.
Urban Decay Naked 2 Basics Palette Tutorial
If you like this video please share and subscribe!

Eyes
- Too Faced Shadow Insurance
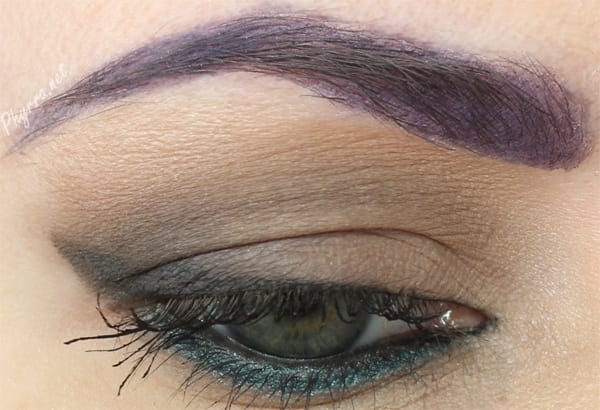
- Urban Decay Stark (Naked 2 Basics) – base shade, inner lid, to blend out the edges
- Urban Decay Frisk (Naked 2 Basics) – lid and crease and lower lid
- Urban Decay Undone (Naked 2 Basics) – outer v and crease, smudged on top of Perversion cream liner
- Urban Decay Perversion Cream Liner – waterline, tightline
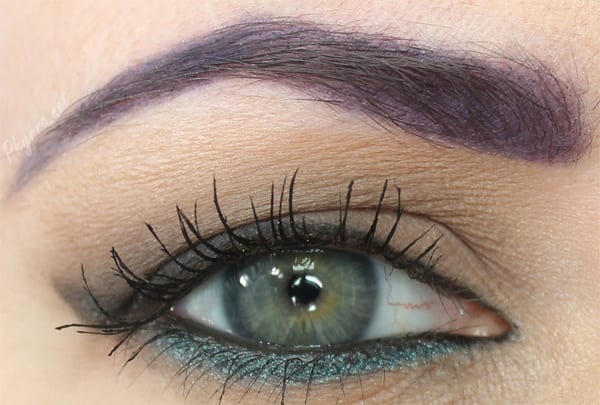
- Urban Decay Haight – lower lid
- Urban Decay Skimp (Naked 2 Basics) – inner corner and under brows to highlight
- Makeup Geek Duchess – brows
- Urban Decay Subversion Primer
- Urban Decay Perversion Mascara
Face
- Nyx Angel Veil Primer
- OCC Makeup Tinted Moisturizer in Y1 (this is too dark on its own on me)
- NARS Unlawful – blush
- MAC Lightscapade – highlight
Lips
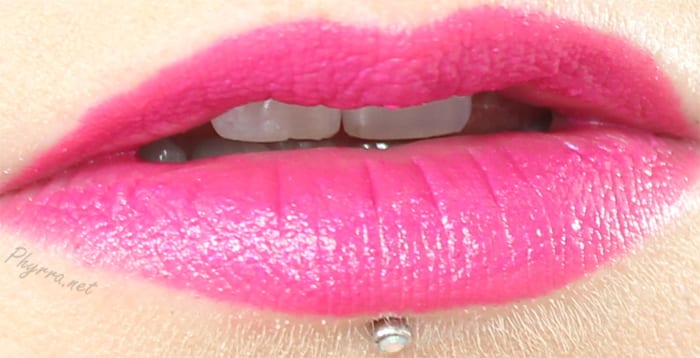
- OCC Makeup Colour Pencil in Anime
- Kat Von D Studded Kiss Lipstick in Lullabye
I know a lot of you liked this look but I felt like it was unflattering on me.
Additionally, I used OCC Tint in Y1 by itself, rather than mixing it with Y0 and it ended up being too dark for me. I should have mixed it with Y0.
I do love how my brows, lips and lashes look. The Subversion mascara primer is amazing. I’m so glad I picked it up.
Daughter #1 was trying on Naked2 Basics a few days ago. She is medium-fair and more golden, so the colors were more of a cool taupe than they look on you. Undone, the darkest shade, worked for her low-contrast coloring, but would be frustrating for anyone who has dark hair or needs more contrast.
By the way, do you know of a blogger who is as pale as you but with cool, blue-pink undertones? (For dd #2) Thanks!
Here’s a list of bloggers by skintone 🙂
https://docs.google.com/spreadsheet/pub?key=0Al-eVynO4goydFdCVkl1RlNMSmYwdnpOSHdWX1YzSnc&output=html
THANKS! I have always wished for something like this!
They are all pretty colors! I don’t know if I would want both basics though.
I think I’ll stick with Naked Basics but I love your purple eyebrows!
Thank you! I’m still not sure of the perfect purple to match my brows, but I like Duchess a lot 🙂
Oh my gosh – the look you put together is beautiful. 🙂 In your opinion… is the Naked basics 2 a MUST HAVE if you have #1?
I’m all for #1!
I probably wouln’t come up with such a creative look but I love how it works together
Aww thank you Betzy!
love the look you put together! 😀
Thanks Laura!
I love the look you created and the purple brows are sooo awesome!
I used to do colored brows more often, but haven’t done them in a long time. glad you like them!
I love your purple brows so much! 😀 Also the liner, and the lipstick… it’s funny, what I like most about neutral eyeshadows is what they let you get away with (more easily) on the rest of your face!
Yep,bright lips, bright liner, bright hair!
Great look! I love what you did with your brows here. Very cool!
I just picked up the original…so of course they’d come out with this one that is likely a better fit for me!
That lipstick is amazing. I love the palette too and will need to pick it up
I cannot WAIT to get my hands on Naked Basics 2! LOVE the tutorial!
The lipstick is a showstopper. Gorgeous!
I like the look, but I can see now why you don’t like this palette. Undone isn’t dark enough to be the darkest shade, and the taupes do look on the edge of muddy. Using the teal and purple brows saved the look and made it more you!
Thank you! Yeah these colors just too easily end up looking muddy on me
Pretty!
I am completely in love with that eye look. I love the way the blue eyeliner looks underneath!
Love this look!
Say what?!?! It is not unflattering!!!
How did I not know that UD has a new eyelash primer? I didn’t like their old one, but I’ve been looking for a CF alternative to the one I’ve used for years (Smashbox), so now I’m excited!
Fantastic tutorial You look beautiful.
That’s beautiful. It’s nice to see the Naked2 Basics shades in action. That seals the deal. I’m getting that palette.
Such a pretty look. I like the mix of neutrals and brights.
I really adore how you mixed the subtle neutral colors of the palette with the bright color on the lower lashline! Super pretty!!
Fully convinced I need this. I am obsessed with neutrals and probably own 9 bagillion, but something about this palette looks gorgeous. And seriously girl I am OBSESSED with your bright lips and the tealish green shade on your lower line. Seriously gorgeous and makes your eyes stand out so much. Beautiful!
It was so interesting to watch how you added shadow over the Perversion liner. It really changed the shade to more of a gray that I loved. I’ve gotta try it, and also maybe it’s time to switch to gel liner
Yes, I wanted a softer, smokier effect for liner. To do that I like to use a gel liner at the lash line then smoke shadow out on top of it. I love gel liner to bits. You can do this with a pencil too but it’s harder to get a thin line with a pencil.
Love that lip combo!
Thanks! I felt like it was awesome and bright, helps to balance out the neutral shades