
Neon Spring Mani How To
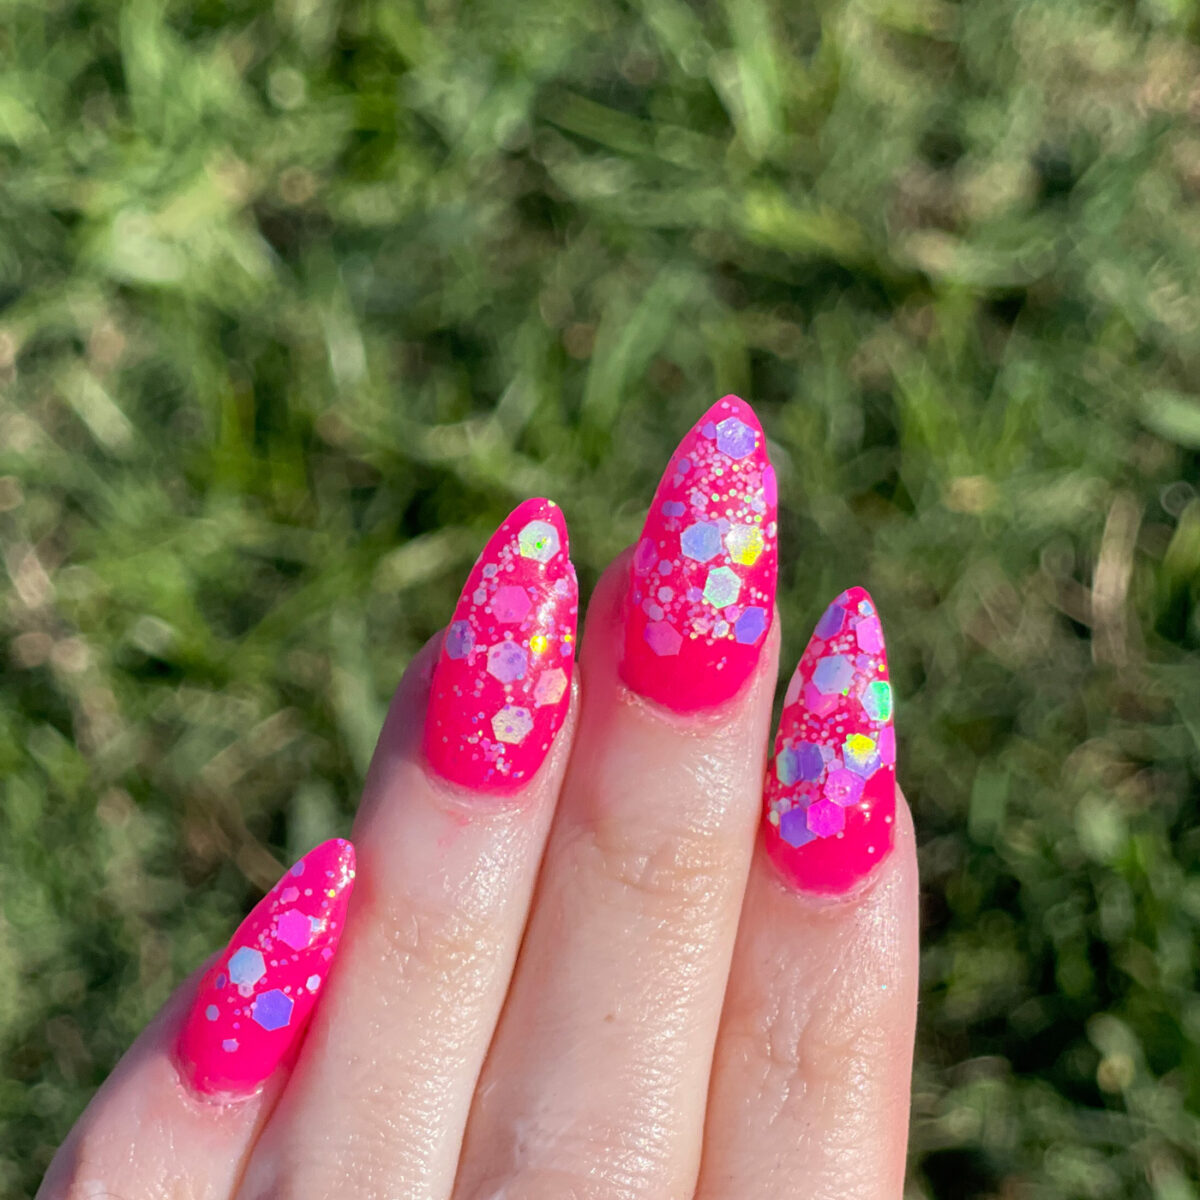
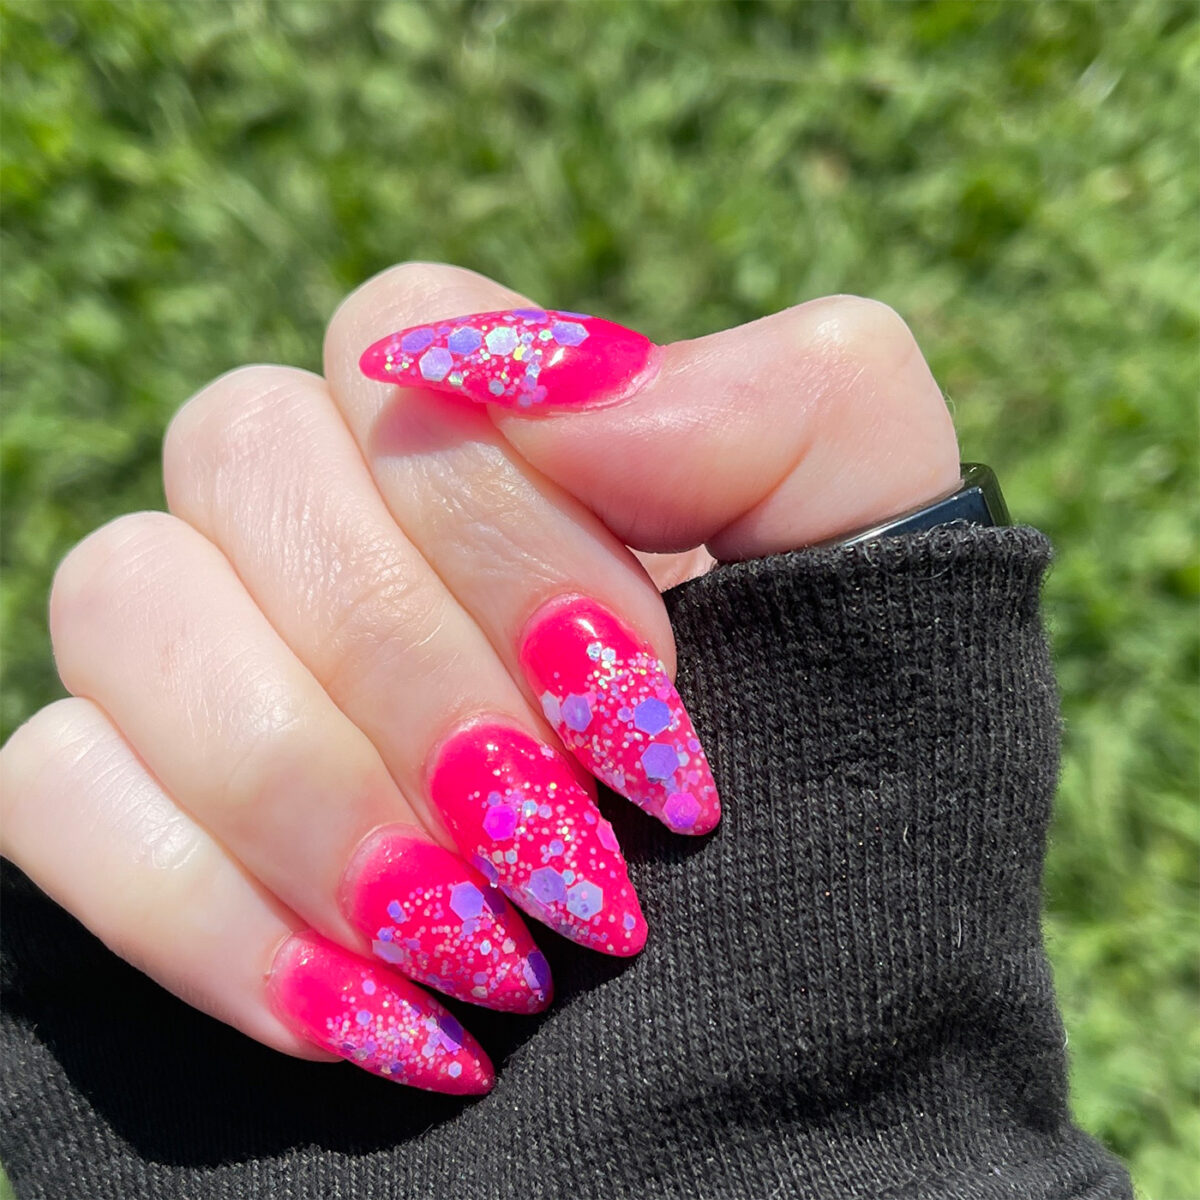
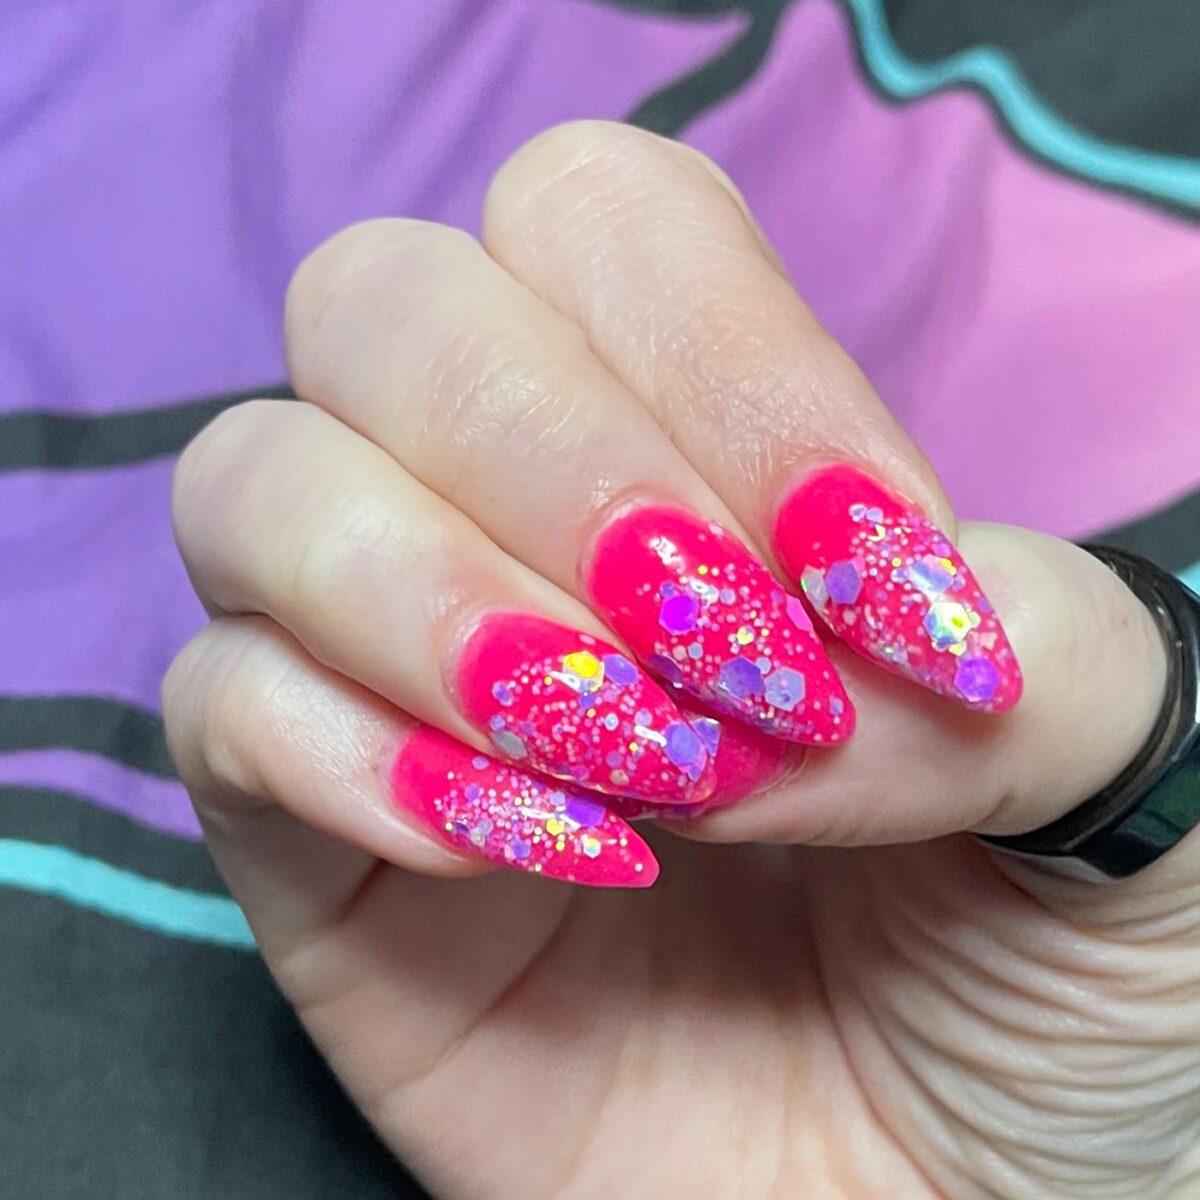
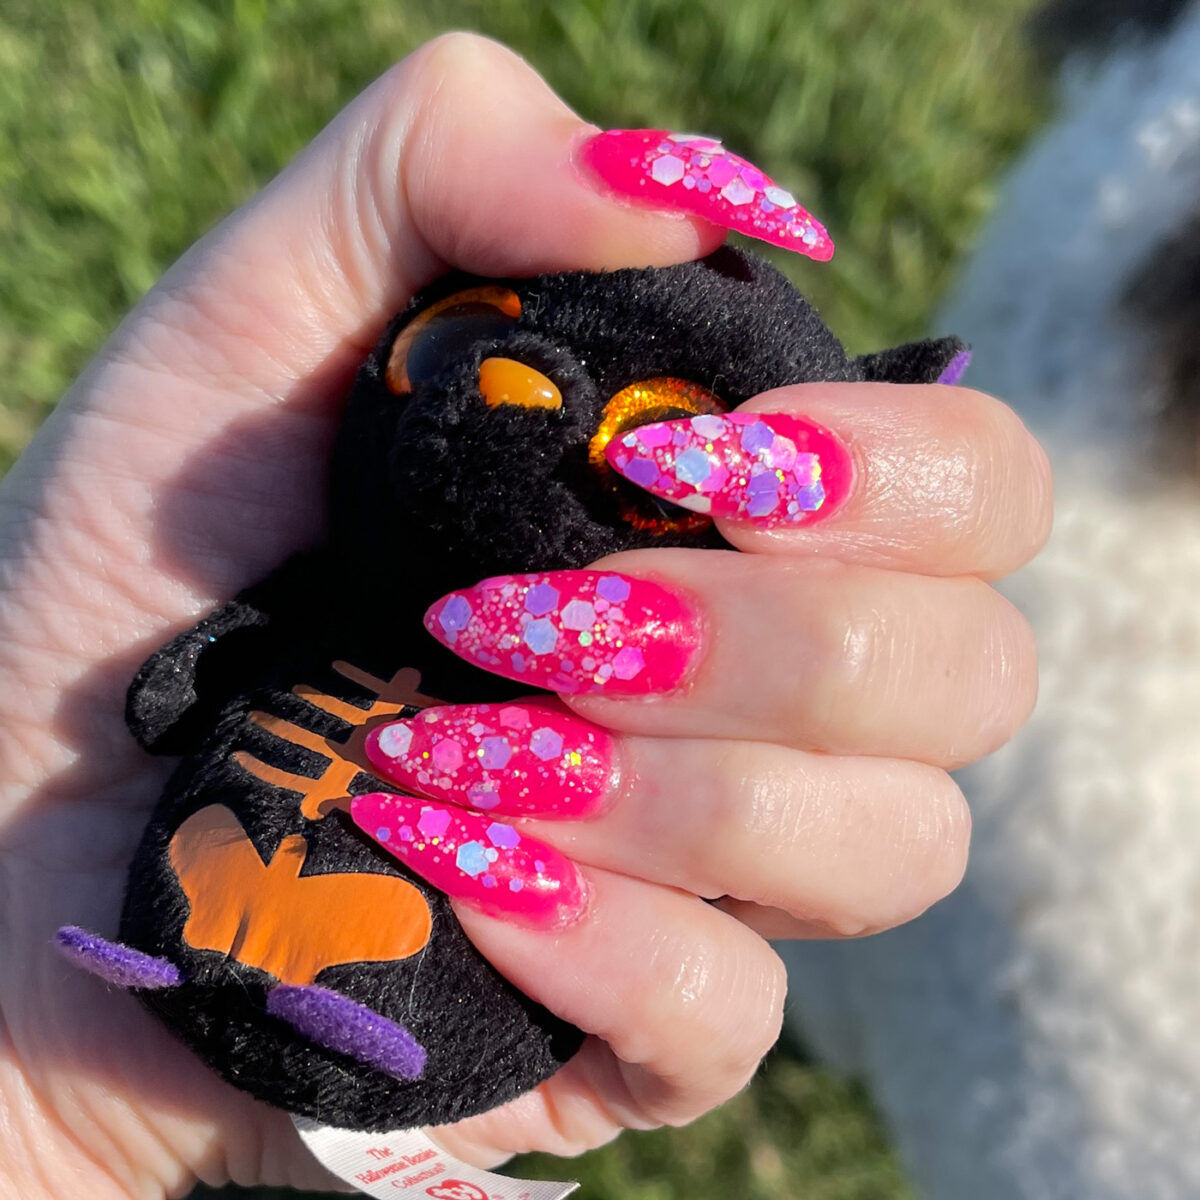
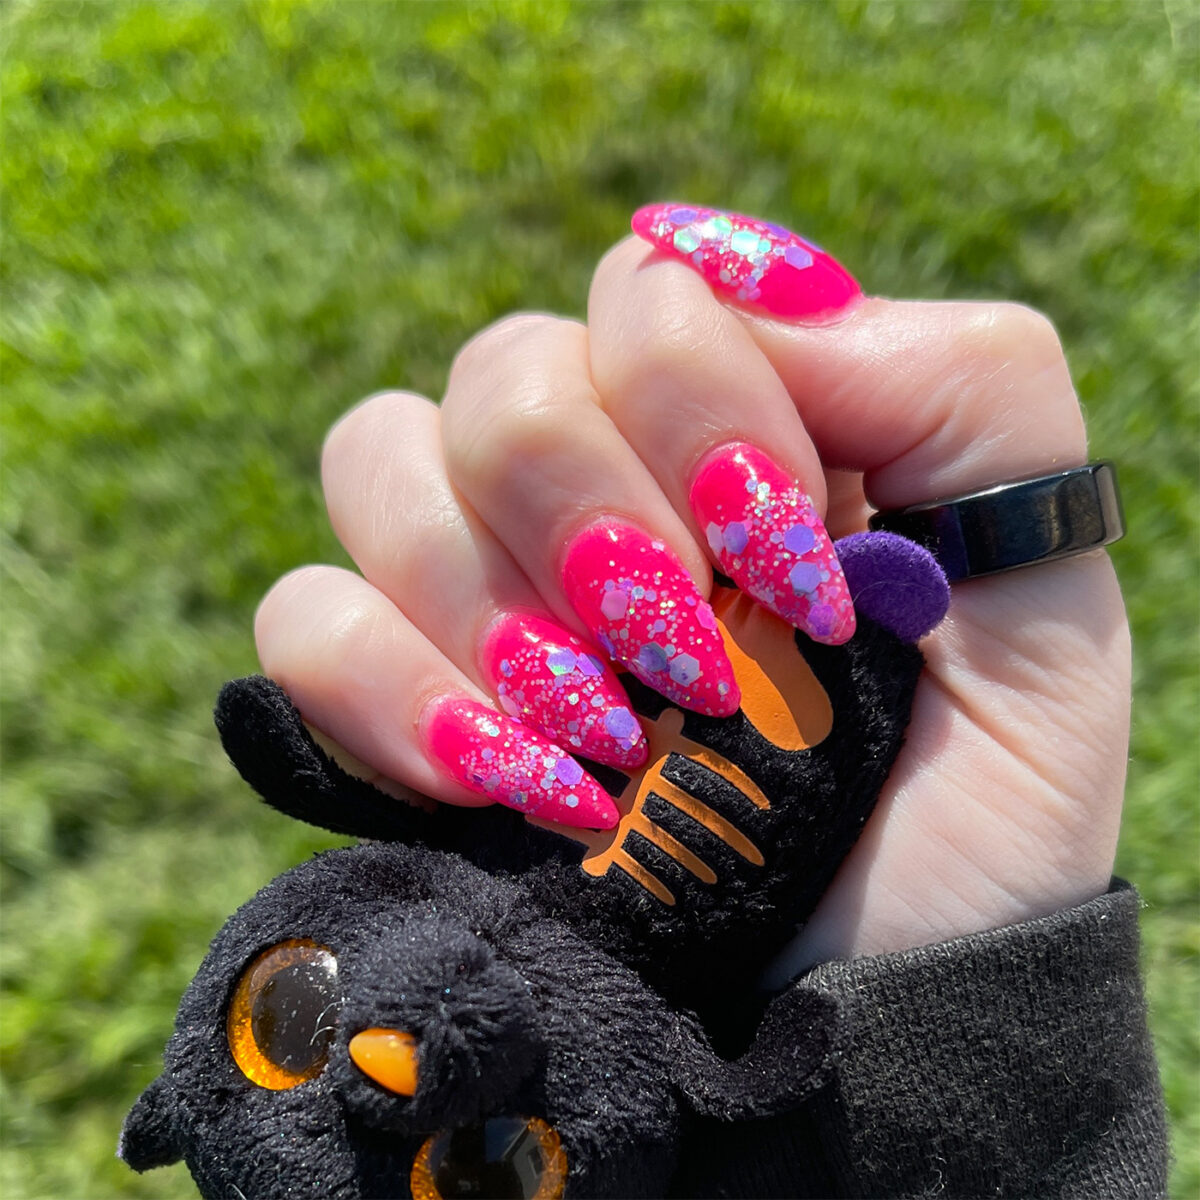
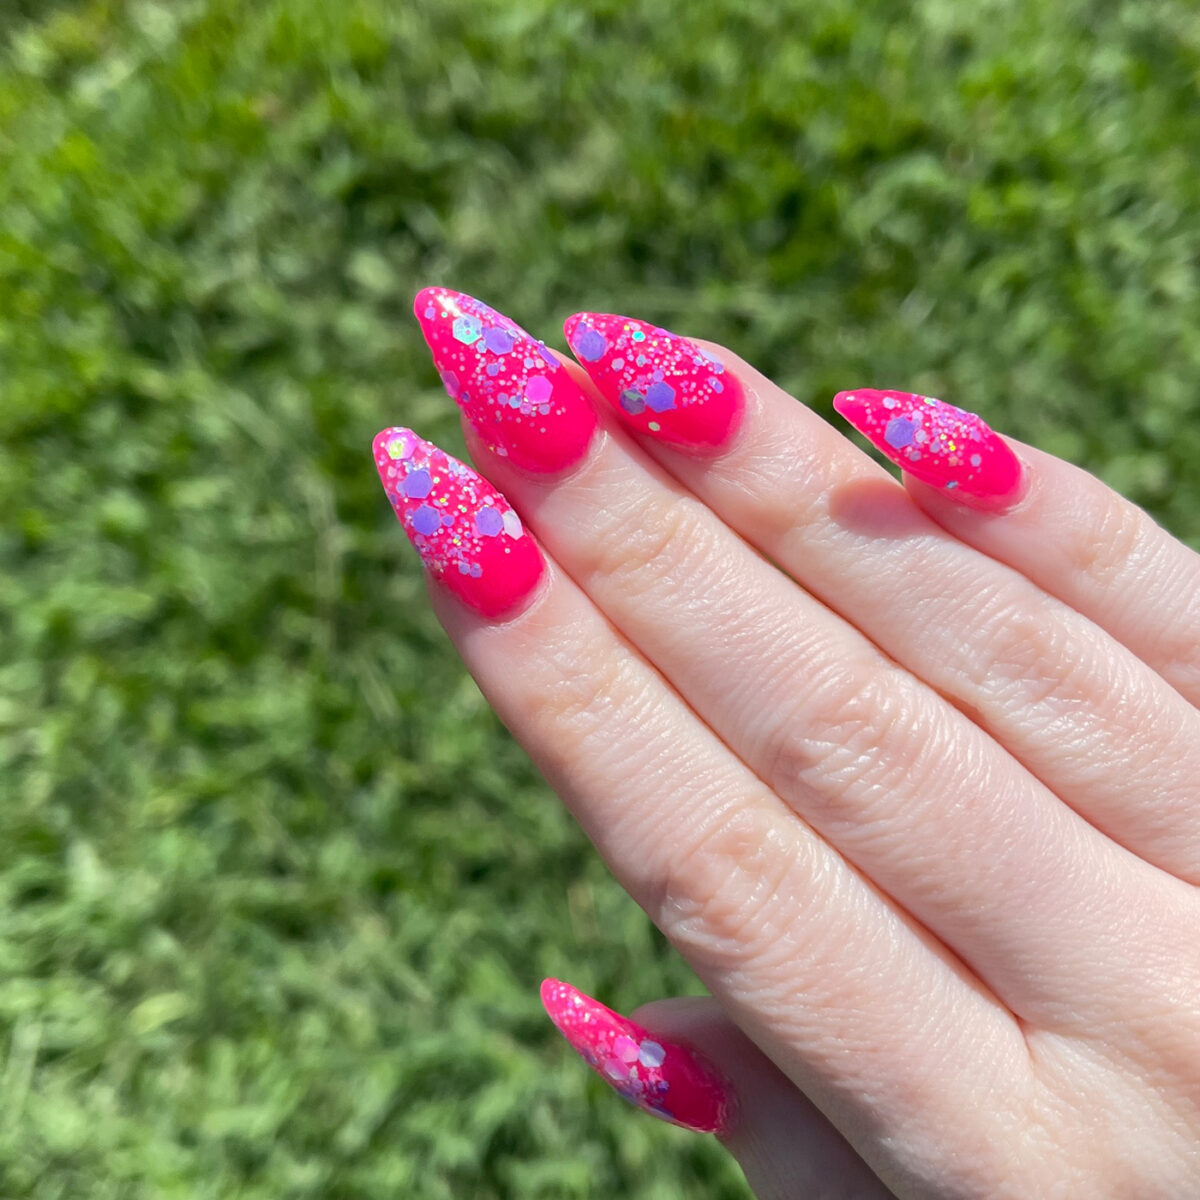
Hello my friends! Today I’m sharing my Neon Spring Mani How To with you. I’ve been experimenting with Dip and Dap powder from iGel, along with Dip and Acrylic powder from Fairy Glamor. This type of powder can be used with both the dip method and acrylic application. And you know I love glow in the dark, so Pink Overdose is a neon pink that glows in the dark! I went for a chunky glitter with Candy Unicorn, which is a purple with lots of color shifting shades.
Everything purchased by me because even though I’m on an extremely low buy this year, I’m still picking up stuff for cool nail art.
My Gel Hack for Application
I have a dedicated bottle of iGel No Wipe topcoat that I use ONLY with dip powders. This is because I believe that the dip powders will eventually taint the gel, so I make sure I have a bottle that it’s ok to taint.
How I Prep My Nails for a Manicure
- Push my cuticles back.
- Use 100/180 grit handfile on the finest side to gently remove any shine from the nails.
- Remove any dust from the nail plate with a fluffy dense nail brush.
- Clean up the cuticle line to make a nice curve. Use cuticle nipper if necessary.
- Double dehydrate with alcohol on lint-free wipes if your nails are extra oily like mine.
- Prime twice with Orly Nail Tip Primer if your nails are extra oily.
Neon Spring Mani How To
This is my Neon Spring Mani How To, showing you how to get the fun glittery glow in the dark look.
- Prep the nails for a manicure as described above.
- Apply the thinnest coat possible of Orly Builder in a Bottle. Be sure to use a toothpick or brush to make sure you leave at least two millimeters of bare nail near your cuticles. I pay extra attention to the shape at the cuticle line. Cure for 30 seconds in an led nail lamp.
- For the second coat, apply a thin layer of Orly Builder in a Bottle paying special attention to the shape you make near the cuticile line. Float a bead of Builder down the center of the nail to help build up a bit of an apex, especially if your nails are flatter like mine. I like to wait for the Builder to self-level and make sure it is slightly thicker towards my tips.
- Then I cure for 60 seconds in an led nail lamp.
- Dab a little Orly Builder in a Bottle onto both the center of the nail and the inside of the full coverage nail tip near the cuticile. I used Painted Desert Medium Stiletto Tips. When you put the tip on to merge the two together, make sure that you have enough gel inside that there will be no air bubbles.
- I use my opposite hand to hold the full coverage nail tip on my nail to provide pressure and make sure no air bubbles are visible, and then I press the pad of my finger inside the Beetles Mini Nail LED Lamp while pressing down on the full coverage tip and hold this for 15-20 seconds per nail.
- Cure the entire hand in the nail lamp for 60 seconds.
- Shape your nails as you prefer. For this set I cut off some of the length and then handfiled them pointy because I love stiletto. If I have any spillage from applying the full-coverage tips, I e-file off the excess.
- I e-file at the cuticle area with my Makartt e-file machine to help it blend with my natural nail.
- Brush off excess dust with a fluffy dense nail brush. If you don’t want to add color, you can just use iGel no-wipe top coat on both sides of the nail and cure for 30 seconds and be done.
- Now for the fun part of dips! I apply a layer of the dedicated iGel No Wipe topcoat to one nail and use a toothpick to make sure that I’m leaving a gap around the cuticle line.
- I grab a cupcake liner and a small spoon, then hold my nail over the cupcake liner and spoon iGel Dip & Dap Powder in Pink Overdose all over the nail. This leaves little to no lumps in my experience. I take a toothpick and make sure to clean up the cuticle line so no powder is touching my skin. Then I cure in the nail lamp for 30 seconds and repeat for all nails. Any excess powder caught in the cupcake liner goes back into my iGel jar.
- I apply another thin layer of the dedicated iGel No Wipe topcoat and use the method described above to apply Fairy Glamor Dip & Acrylic Powder in Candy Unicorn to about 3/4 of the nail. I use tweezers to help position the larger chunky glitter pieces. I cure in the nail lamp for 30 seconds and repeat for all nails.
- Because I’m not fond of texture, I applied a layer of Orly Builder in a Bottle to help encapsulate the gel and cure for 30 seconds.
- I apply a final layer of the dedicated iGel No Wipe topcoat to the top and bottom of the nails and cure for 30 seconds each side in the nail lamp.
Glow in the Dark
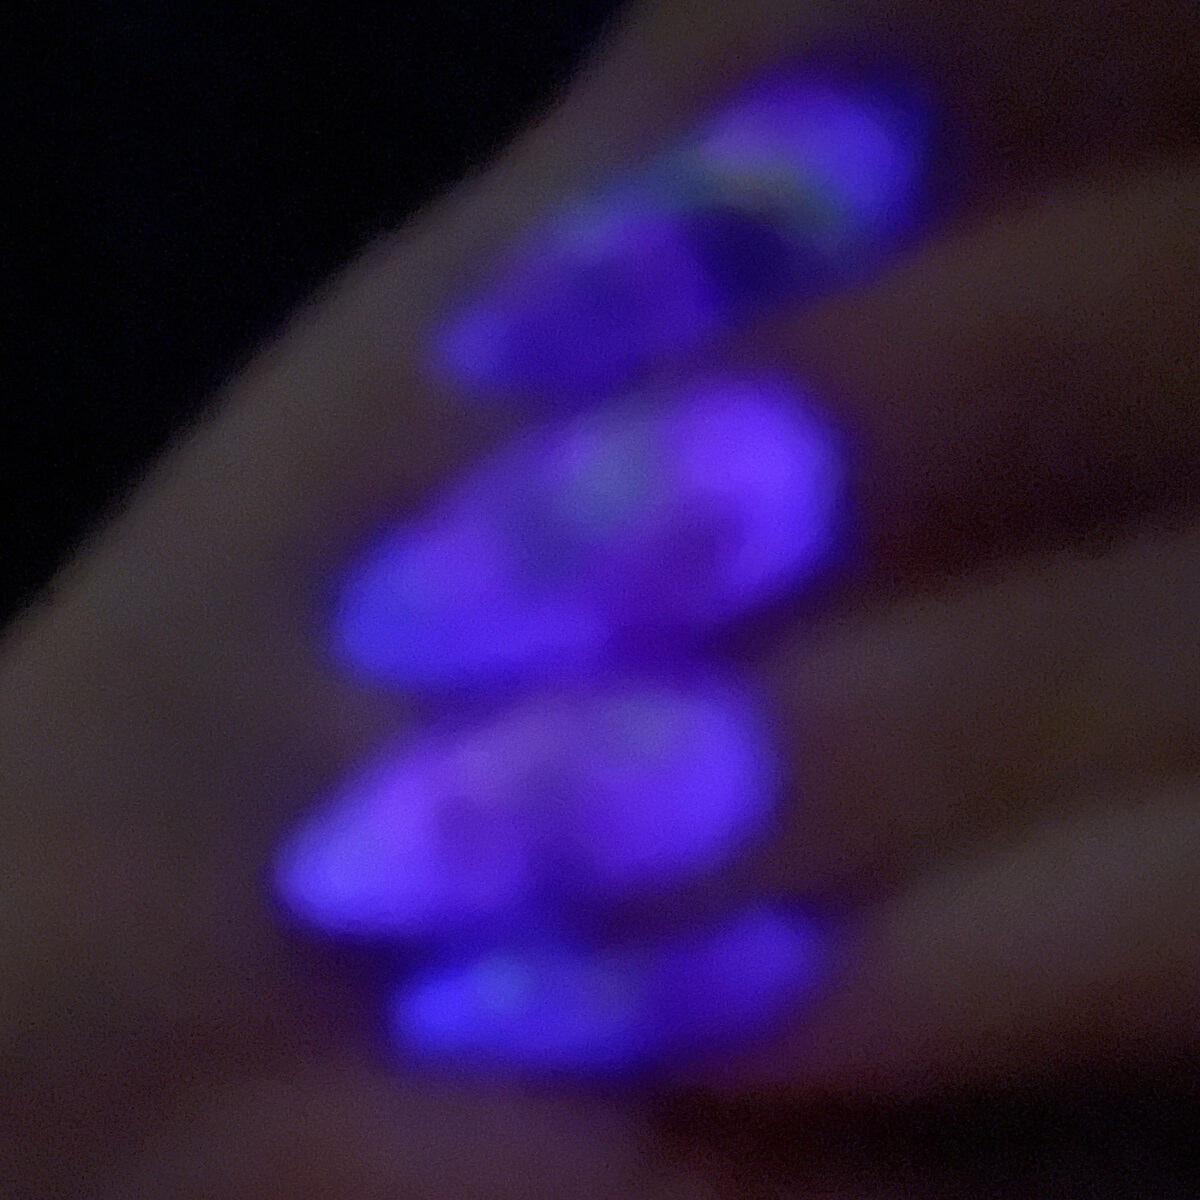
My camera struggles to capture the bright glow you see from the nails. I’m consistently impressed with the glow in the dark Dip & Dap Powders by iGel.
Neon Pink Nails
Real talk time. I love doing my own nails. I love that I improve with every set I do, every tutorial video I watch, and every time I practice. I’m grateful I’ve been able to pick up this skill during these uncertain times.
I hope that you find my Neon Spring Mani How To tutorial helpful. Let me know what sort of nail tutorials you’d enjoy in the future, too.
More to See