How to Wax Your Underarms
 How to Wax Your Underarms
Thank you Parissa for sponsoring this post! The opinions and text are all mine.
Do you love having silky smooth underarms but you’re tired of shaving? That’s me! Today I’m sharing a tutorial on how to wax your underarms. I spent over two years going to the salon to have my underarms professionally waxed.
I’ve tried waxing at home in the past but always found that my abilities were hit or miss. Waxing yourself can be difficult the first few times! I recently gave the Parissa Warm Wax Super Pack a try and realized it’s so much easier to wax your underarms when you have all of the right tools.
A Little About Parissa
Azar Moayeri, the founder of Parissa, was the first female Chemical Engineer to graduate from the University of Edinburgh. She was successful in the male-dominated business world until political turmoil in Iran caused her to immigrate to Canada.
Azar formulated Canada’s first all-natural hair removal product. Today Parissa is known as the expert in natural hair removal. Parissa’s ingredients include beeswax, gum rosin from pine and spruce trees, canola and castor seed oil, azulene oil, tea tree oil and sugar. Parissa is certified green and eco-friendly, as well as being Leaping Bunny Certified.
Parissa Warm Wax Super Pack
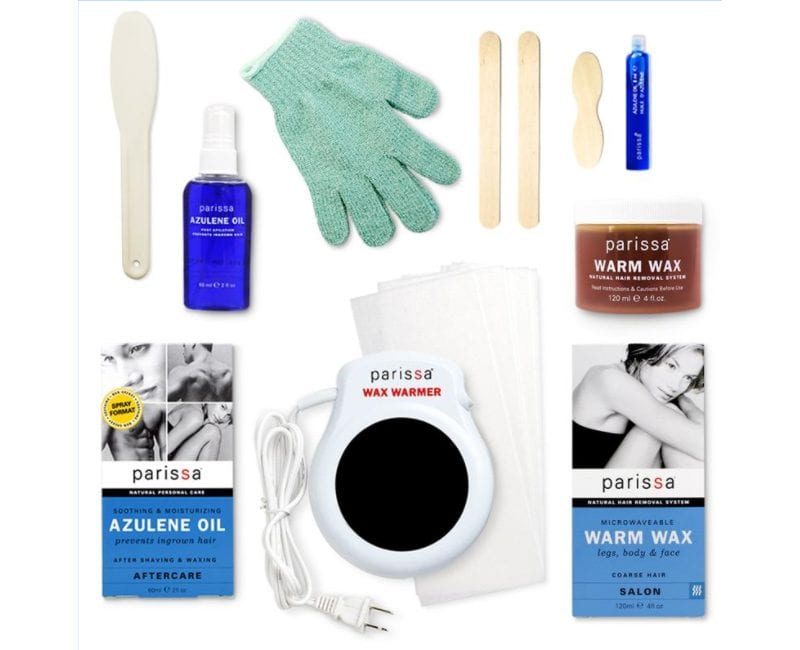
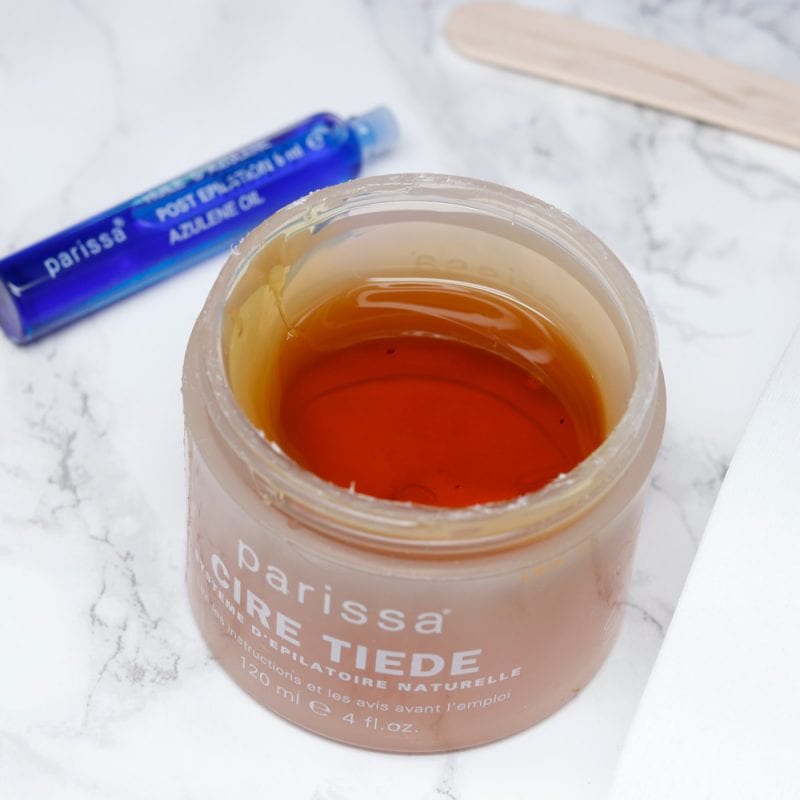
The Warm Wax Super Pack is pretty awesome for waxing your underarms because it contains everything you need in one small kit! It comes with the Parissa Waxing Warmer, which helps to keep the wax at just the right temperature during the waxing session. You get 20 fabric strips, 3 wooden spatulas, 1 large plastic spatula, 1 jar of warm wax, 1 azulene spray bottle, 1 mini bottle of azulene, and an exfoliation glove.
The large plastic spatula is excellent for dipping into the jar of wax, which has a consistency similar to honey. You can easily scrape off the excess wax from the bottom of the spatula back into the jar. This is helpful because you always want to apply as thin a layer of wax as possible.
The azulene oil in the spray bottle is very useful. The spray bottle makes it easy to get the oil on the skin after you finish waxing. It’s used to remove the excess wax. It has chamomile in it, making it soothing and anti-inflammatory. Azulene oil also helps to reduce ingrown hairs and redness.
Azulene oil has a lot of benefits in addition to being anti-inflammatory and antiseptic. It’s a dry oil, so it’s easily absorbed into the skin. It can be used to tame hair frizz and as a cuticle oil. Azulene oil can even be used to remove makeup.
The glove is perfect for exfoliating the skin 24 hours after you wax. You want to gently exfoliate to prevent ingrown hairs.
It’s very important to know that you cannot wash the warm wax off with water. You must use an oil to remove the wax. If you get wax on your counters, use an oil or acetone to remove it.
Why Should I Wax?
People will often ask, why should I bother to wax my underarms when shaving is so quick and there’s no learning curve with shaving? In my opinion, waxing lasts longer than shaving. You’ll also enjoy the feeling of soft, smooth skin instead of stubble.
You’ll be able to learn how to wax your underarms after just a little bit of practice. After you have been waxing your underarms long enough, the hair starts growing back finer and thinner than before. Plus, you don’t have to deal with uncomfortable stubble from waxing.
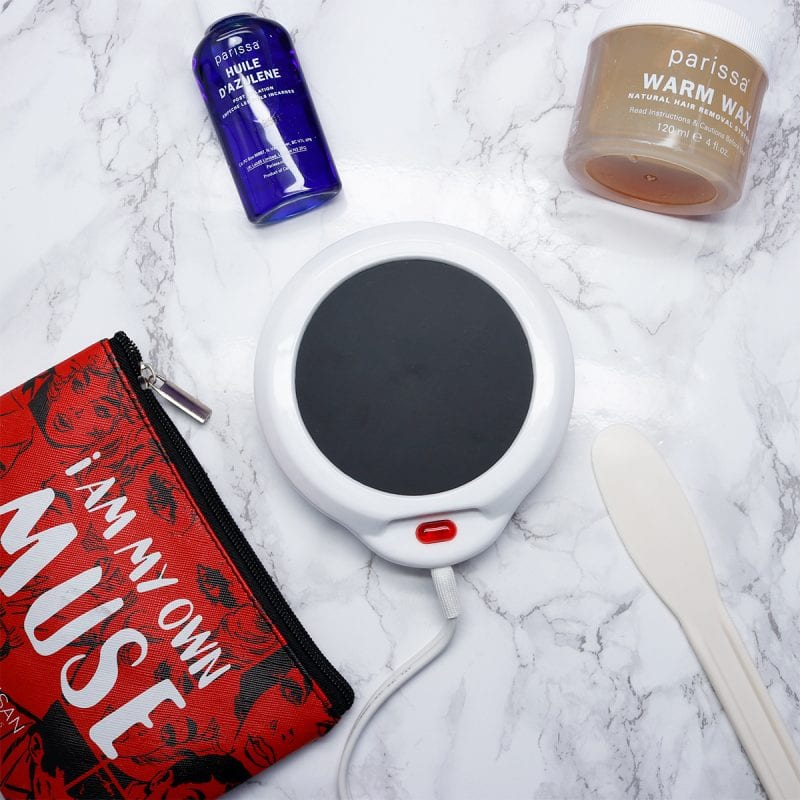
How To Prep for Waxing Your Underarms
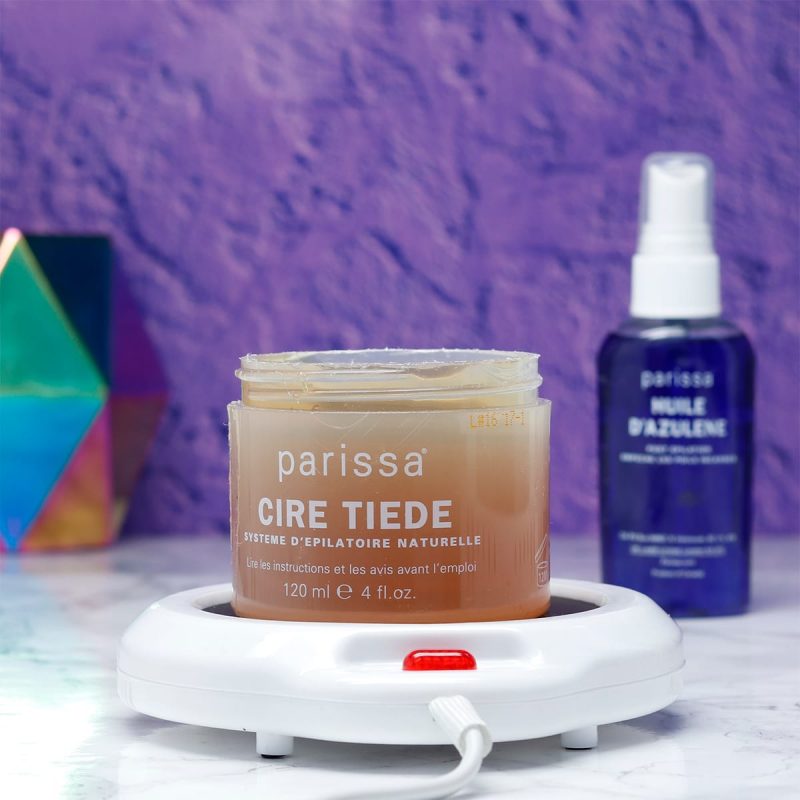
It’s very important that you not clean your underarm skin before you start waxing. If you’re someone who sweats a lot, you can use a little baby powder to prevent sweat from interfering with the wax.
You need to heat the wax up. You can use the waxing warmer or the microwave. If you choose to use the microwave, you’ll want to stick the wax jar on a plate in the microwave. I would recommend microwaving it for 60 seconds, then do 20-second increments until the wax is warm.
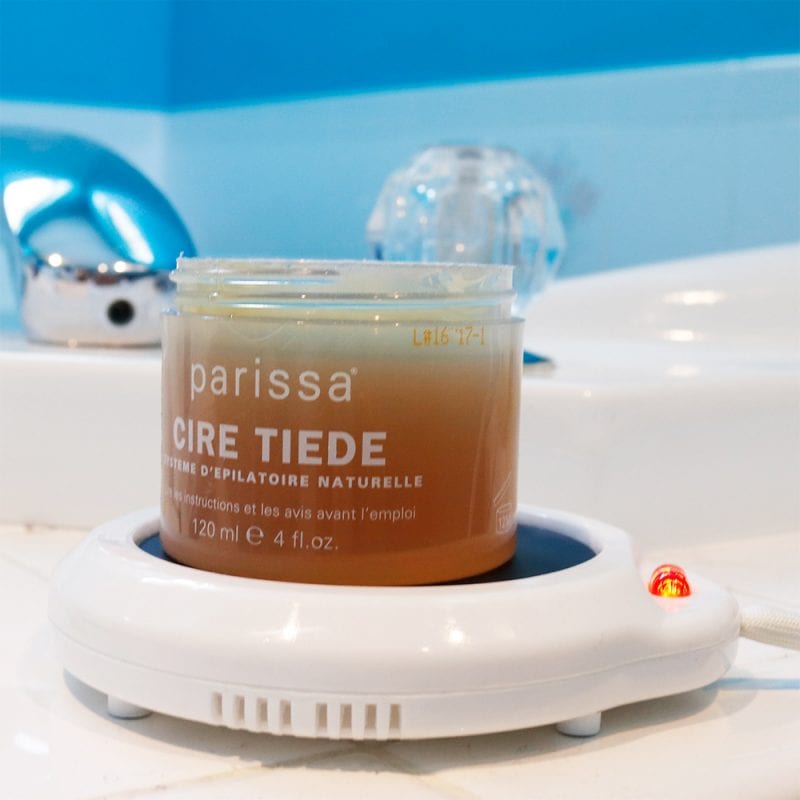
If you’re going to use the waxing warmer, it will take about 40 minutes for the wax to fully heat up. You must put the waxing warmer on something that can handle the heat, such as your bathroom counters. The waxing warmer really helps to keep the wax heated to an even, perfect temperature for waxing.
The waxing warmer is easy to use. You just plug it in, turn the switch on the cord and you’ll see a red light come on. The red light indicates it’s working.
After you heat the wax either with the waxing warmer or the microwave, you need to stir it. Then carefully test the wax to make sure it’s warm, but not so hot that it will burn you.
Practice How to Wax Your Underarms
If you’ve never had your underarms waxed before, or you’ve never tried waxing on your own, I strongly recommend you practice how to wax your underarms on another part of your body, like your legs, first. You could even do your arm instead.
As I mentioned above, I had my underarms waxed professionally for 2 years. I personally find it difficult to pull wax fabric strips off my skin fast enough. I’m one of those people that also have problems ripping band-aids off quickly.
I’m very familiar with the waxing process, but I still practiced how to wax my underarms on my leg so that I could improve my technique. I also taught my husband how to wax my underarms to help me with creating this tutorial.
We practiced together on my legs first. Legs are actually very easy to wax by yourself with the Parissa Warm Wax Super Pack. I showed Ray how to wax your underarms on my leg in less than five minutes.
I used the large plastic spatula to dip into the warm wax. I wiped off the bottom of the spatula on the lip of the wax jar and then spread a very thin layer of wax onto my leg in the direction that my leg hair grows. Then I pressed a fabric strip on top of it, using a wooden spatula to smooth the fabric strip in the direction that my leg hair grows.
I held the strip firmly and then pulled as fast as I could in the opposite direction of my hair growth. It helped to keep the fabric strip as close to parallel with my leg, rather than pulling up or out.
After Ray watched me do it once, he practiced on my leg as if it were my underarms a few times too. He got it right on the first try but still wanted to practice on the angle to pull the fabric strips while I held the skin taut.
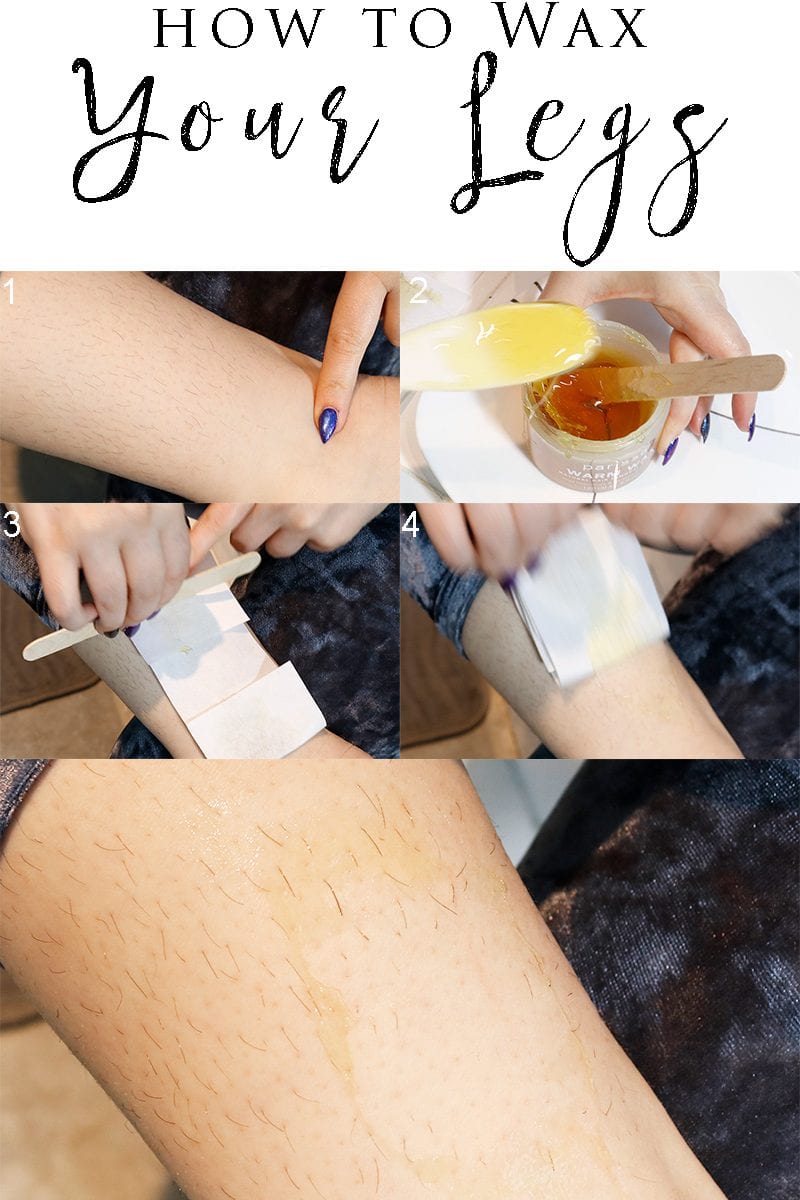 How to Wax Your Legs for Practice
- Make sure your hair is about 1/4 an inch long and do not clean the area beforehand.
- Get a small amount of wax and apply it in a thin layer on your leg in downward strokes, following the direction of hair growth.
- Press the fabric strip into the wax, smoothing it with a wooden spatula in downward strokes, following the direction of hair growth.
- Pull the fabric strip upwards and as close to the skin as possible, in the opposite direction of hair growth.
You then repeat steps 2, 3, and 4 until you’re done with removing the hair. To clean up, you simply spray the azulene oil onto the skin to remove the wax. Waxing your legs is a perfect way to practice for your underarms. Once you master waxing your leg hair, you can move on to the underarms.
How to Wax Your Underarms Tutorial
Learning how to wax your underarms can be tricky for beginners because your underarm hair grows in so many different directions. The best thing you can do is divide the underarm hair in half and do the top and bottom halves separately.
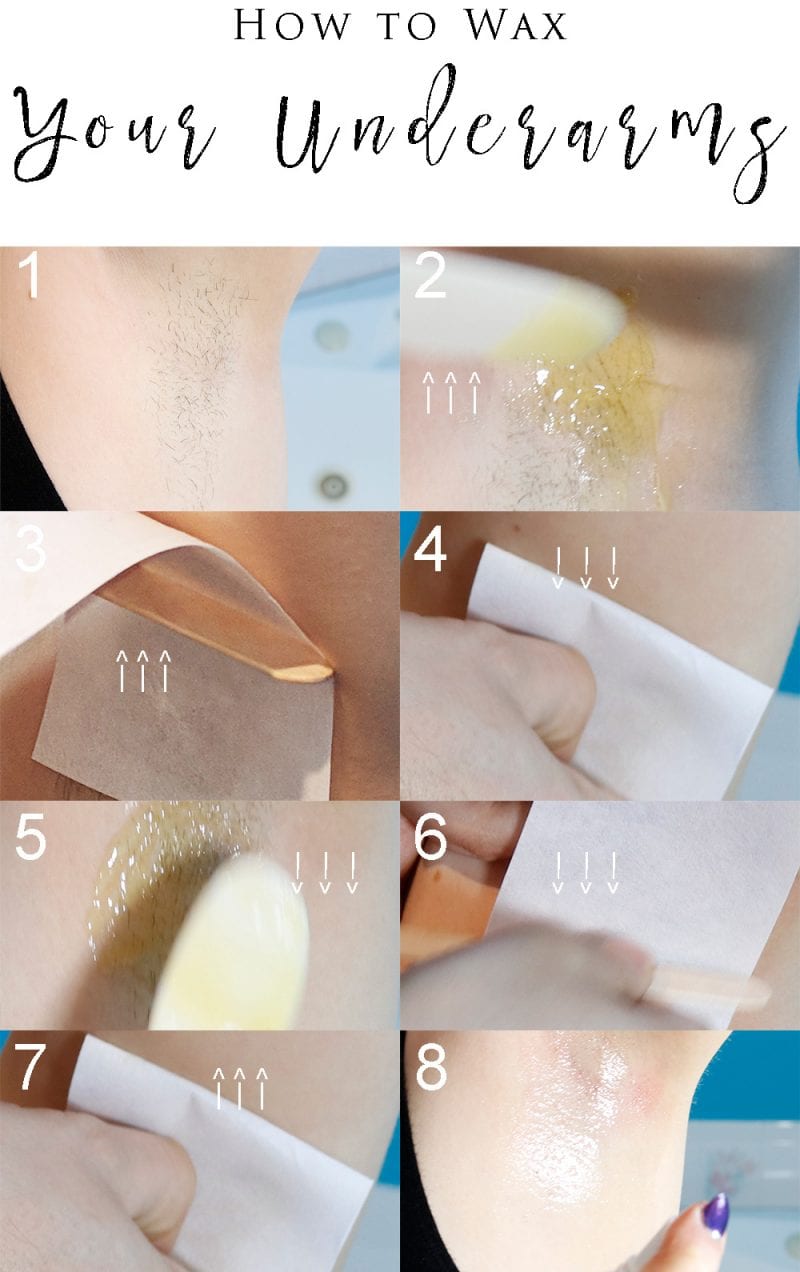
How to Wax Your Underarms
- Make sure your underarm hair growth is about 1/4 of an inch and do not clean the area beforehand.
- Spread a thin layer of warm wax upwards, in the direction that the hair grows, to do the top half of your underarm area. You need to stretch the arm being waxed behind your head so that your underarm skin is as taut as possible.
- Press the fabric strip into the wax, smoothing it with a wooden spatula upwards, following the direction of hair growth.
- Pull the fabric strip downwards, in the opposite direction of the hair growth. Repeat steps 2, 3 and 4 until the top half is hair free.
- Spread a thin layer of warm wax downwards, in the direction that the hair grows, to do the bottom half of your underarm area.
- Press the fabric strip into the wax, smoothing it with a wooden spatula downwards, following the direction of hair growth.
- Pull the fabric strip upwards, in the opposite direction of the hair growth. Repeat steps 5, 6 and 7 until the bottom half is hair free.
- Spray the underarm area with azulene oil to remove any excess wax and sooth the skin.
Here’s a little video of the wax strip being pulled downwards off the bottom half of my underarm.
Underarm Waxing Aftercare
The first few times after you wax, you may end up with little pinpricks of blood from very thick, rooted hairs. You’ll find the azulene oil to be very soothing to the areas you wax.
Make sure you do not use antiperspirant or deodorant for 24 hours after you wax your underarms. You don’t want to irritate the skin. It’s also a good idea to avoid using alcohol, astringents or other beauty products on your underarms immediately before or after you wax.
Oh, protip – don’t wax when you’re on your period, or for a day before or after. You’ll be extra sensitive around that time of the month.
And that’s just about everything you need to know about how to wax your underarms. Let me know if you decide to give waxing at home a try!
You can find Parissa Wax at Parissa.com, Amazon, Walgreens and Whole Foods in the US, Boots in the UK and Shoppers in Canada.

 How to Wax Your Underarms
I’ve always been scared to wax my underarms. I’m impressed you did it yourself!
I’m definitely going to try this! I’ve only done a bikini wax at home with the hard type of wax. I love the way the hair takes longer to grow back and there’s no ingrown hairs, etc with waxing.
I have super sensitive under arms, so shaving often gives me itchy bumps. I’d love to try this though, it seems easy enough for a waxing newbie like me to handle! lol
I’ve had laser hair removal on my underarms, but I used to and loved doing it
Thank you for sharing this very thorough tutorial.
For me the worst part of waxing is having to grow out the hair first. It really bothers me for some reason.
Wow I can’t believe there’s no stubble! thanks for the step-by-step guide!
I’ve never waxed my underarms. I’m afraid to, because I have sensitive skin and shaving with a razor is awful on my underarms. I have to use an electric. I wonder if waxing would be better? This looks very easy, at least. Thanks for the thorough tutorials.
I am too chicken to wax myself , though you do make it look easy…
procedure seems easy with your steps
Brooke took the words out of my mouth: brave soul! But I must say that your tutorial was fantastic. You demystify what can be a complicated process, and you make it look less scary.
This is a great tutorial, very thorough!!!
This is such a great step by step guide! I’ve never tried waxing my underarms or legs, but I should!
This seems pretty effective! hank you for sharing this!
I didn’t know you didn’t clean the area first. This sounds effective to use. I have less and less body hair as I age but my underarms still grow.
Mine is so dark!
You are a BRAVE SOUL! Waxing hurts enough when others do it lmao I’ve never been able to do it myself.
I can only successfully wax my own legs. For my underarms it’s easier to get my husband to do it because he can get a better angle.