Baroness X Summer Fluid Art Nails
Baroness X Summer Fluid Art Nails
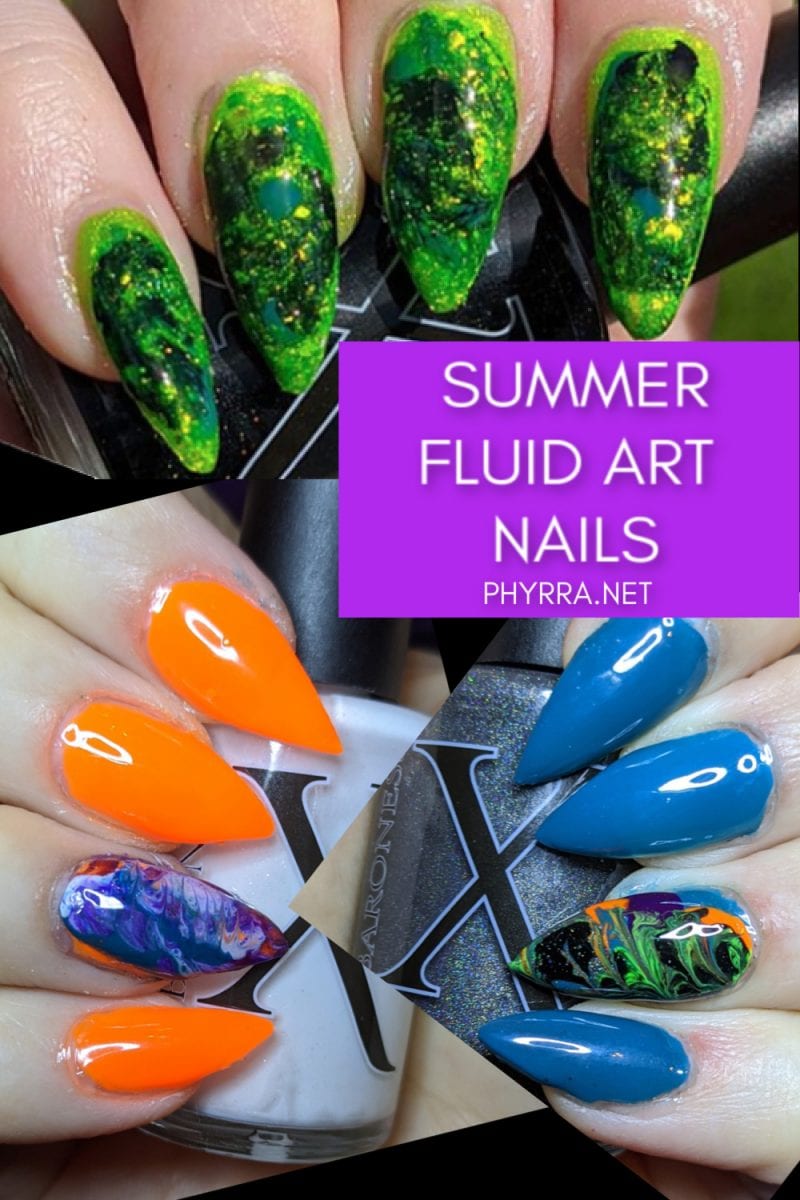
Hey friends, I’m back with some awesome Baroness X Summer Fluid Art Nails. I’m going to walk you through the entire process that I went through to create these fun summer nails.
Everything I used was purchased by me. All opinions are my own.
Equipment I Use
Because I am using Orly Builder in a Bottle plus Apres Natural Short Stiletto tips to create my Baroness X Summer Fluid Art Nails, I needed a lot of equipment.
- Electric Nail File Machine (e-file)
- Ceramic Nail File Attachments
- Nail Art Light (clamp on LED)
- Purple LED UV Nail Lamp (with removable bottom)
- Small Bottle for Alcohol & Lint Free Nail Wipes
- Purple Bottle for Nail Polish Remover
- Pure Acetone
- 100/180 Grit Nail Files
- Orly Buffer
- Rebel By Fate Glass Nail File
- Silicone Nail Art Brushes
- Silicone Nail Art Mat
- Orly Cuticle Pusher
- Orly Genius Nail Polish Remover
- Nail Polish Clean Up Brush
- Slanted Tweezers
- Nail Polish Remover Cup
- Nail Art Scissors
- A very flimsy piece of plastic. You can use the corner of a ziplock bag or the outer plastic wrapper to a product.
Nail Polish
To create my gorgeous Baroness X Summer Fluid Art Nails, I used a lot of nail polish! Below is every single nail polish that I used.
- Orly Saturated (deep neon purple creme)
- Orly Melt Your Popsicle (neon orange creme)
- Orly Teal Unreal (deep teal blue creme)
- KBShimmer Race Against Slime (neon green creme)
- Baroness X X Marks the Spot (holographic black)
- Baroness X Hypnotic (holographic charcoal)
- Baroness X Snow Leopard (holographic white)
- KBShimmer Clearly on Top Topcoat
- GlitterDaze Super Smooth Topcoat ( I think this was discontinued as I’ve been waiting to rebuy it for over a year)
- Orly Gel FX Nail Tip Primer
- Orly Builder in a Bottle
- Orly Gel FX Top Coat
- Apres Natural Short Stiletto Nails
How to Create Fluid Art Nails
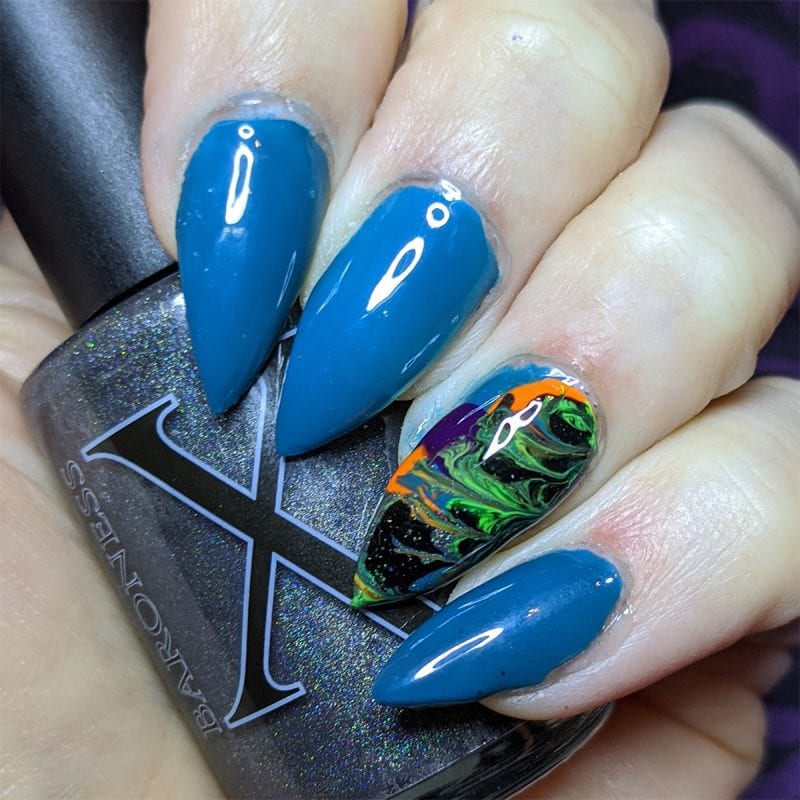
For my Baroness X Summer Fluid Art Nails, I used my Silicone Nail Art Mat, lots of random drops of nail polish, and a flimsy piece of plastic.
- On a Silicone Nail Art Mat, paint KBShimmer Clearly on Top Topcoat in the rough shape of the decals you want to make. I did very long oval shapes larger than my nails.
- I applied drops random drops of the creme nail polishes to both of the ovals. For my left hand I used Orly Teal Unreal, Orly Melt Your Popsicle, Orly Saturated, KBShimmer Race Against Slime, Baroness X X Marks the Spot, and Baroness X Hypnotic.
- For my right hand I used Orly Teal Unreal, Orly Melt Your Popsicle, Orly Saturated, and Baroness X Snow Leopard.
- After all the polish is on, I take the flimsy plastic and zig zag it through the polish drops to create movement and flow.
- After the decals are completely dry, I remove with slanted tweezers.
Apres Natural Short Stiletto Tips
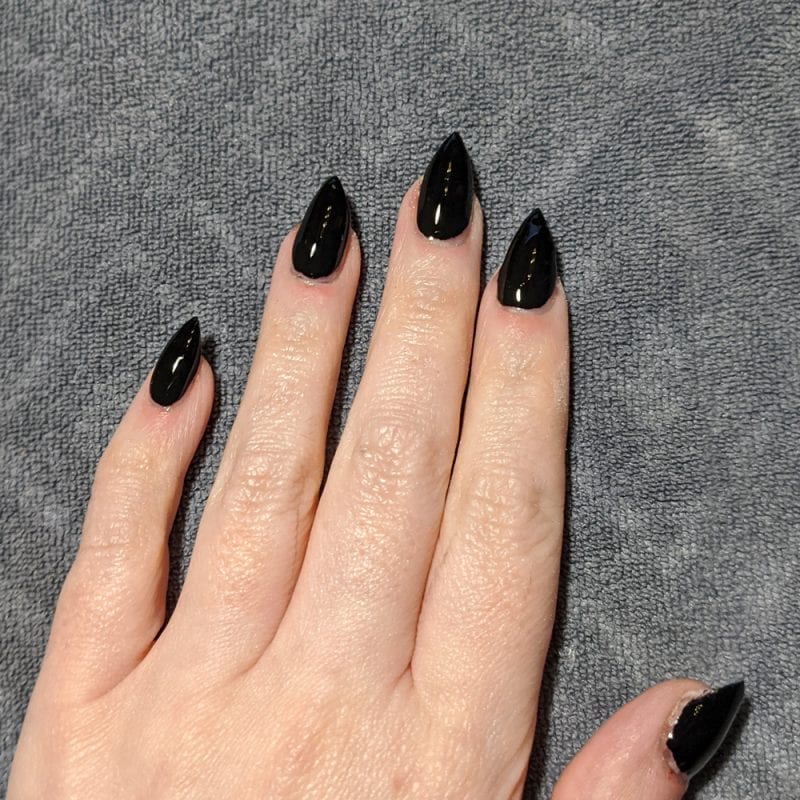
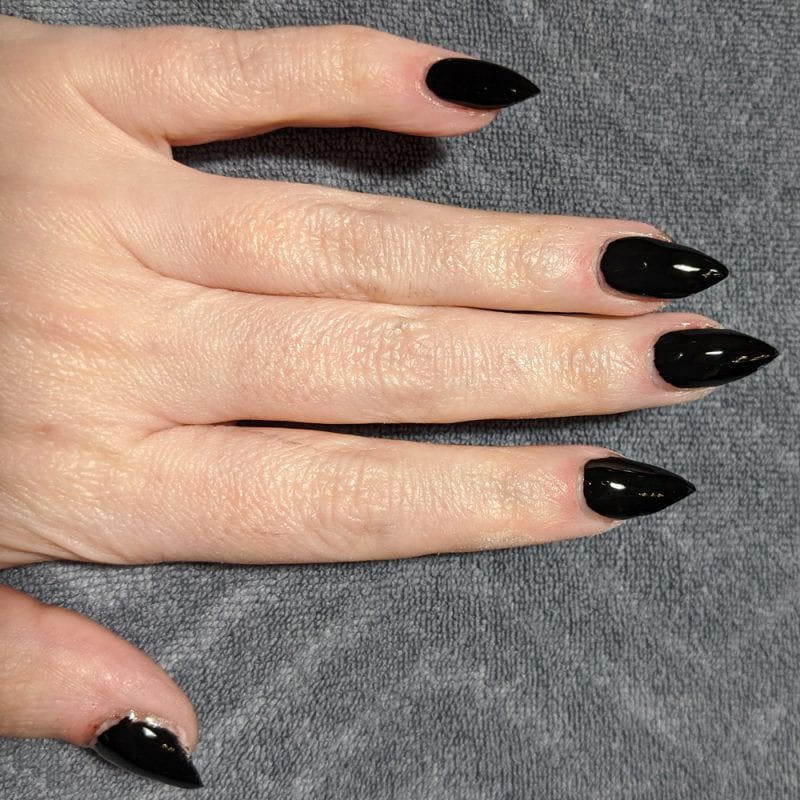
I originally bought the Apres Natural Short Stiletto Tips Box with all sizes because I didn’t know what my size would be in full coverage tips. It turns out that I’m a size 9 for my pinkies, a size 3 for my thumbs, and a size 6 for the rest of my fingers. I LOVE this Gel-X Soft Gel Style tip because they are truly able to be soaked off. They’re also easy to size to your natural nails. Once you know your sizes, you can repurchase bags of nail tips in just those sizes.
I’ve done two previous Orly Builder in a Bottle + Apres Natural Short Stiletto Tips manicures before today. Today makes my third full set. I’m getting better with practice! You can see my first set of Orly+Apres on Instagram.
Orly Builder in a Bottle
I’ve missed my long stiletto nails that Diamond used to create for me every month or so. I took them off since I have stayed home since mid-March. Several of my friends encouraged me to try Orly Builder in a Bottle with Apres Natural Short Stiletto Tips to make my nails look long and beautiful again. Here’s everything I did to my nails to help create my Baroness X Summer Fluid Art Nails.
I’ve now done three full sets with Apres and Orly Builder in a Bottle.
- Prep your nails how you like. I push back and trim my cuticles. I dehydrate the nail with alcohol on a lint free wipe.
- I apply two coats of Orly Gel FX Nail Tip Primer to my natural nails.
- I apply a thin coat of Orly Builder in a Bottle, then I ‘float a bead’ of Builder down the center of my nails to give them a tiny bit of height. I flash cure each nail for 10 seconds. Then cure my entire hand for 30 seconds. To do this I remove the bottom of my nail light and prop it up on a few books so I can easily fit 2 hands underneath.
- I prep the Apres Natural Short Stiletto Nail Tips with a tiny bit of alcohol inside the cuticle half of each tip, then apply a coat of Orly Gel FX Nail Tip Primer to the cuticle half of the nail.
- I apply a thin coat of Orly Builder to my nails and the cuticle half of the Apres nail tip.
- I press the Apres nail tip onto my nail, making sure there are no bubbles on my nail bed, and then flash cure for 10 seconds. Then I cure my entire hand for 30 seconds.
- I apply Orly Gel FX Top Coat to the tops of all the nails and cure for 30 seconds.
- I apply Orly Gel FX Top Coat to the bottom side of all the nails and cure with my hand upside down for 30 seconds.
- Then I wipe the top and bottom side of the nails with alcohol + a lint free makeup wipe to remove the stickiness from the topcoat.
- I clip the very tip of the Apres nails off, then I manually file my nails to my desired length and shape.
- I use an e-file with a ceramic ball tip to clean up any excess Builder under the nails or at the cuticle line.
- I use the Orly Buffer lightly on top of all the nails, then they’re ready for polish.
Baroness X Summer Fluid Art Nails
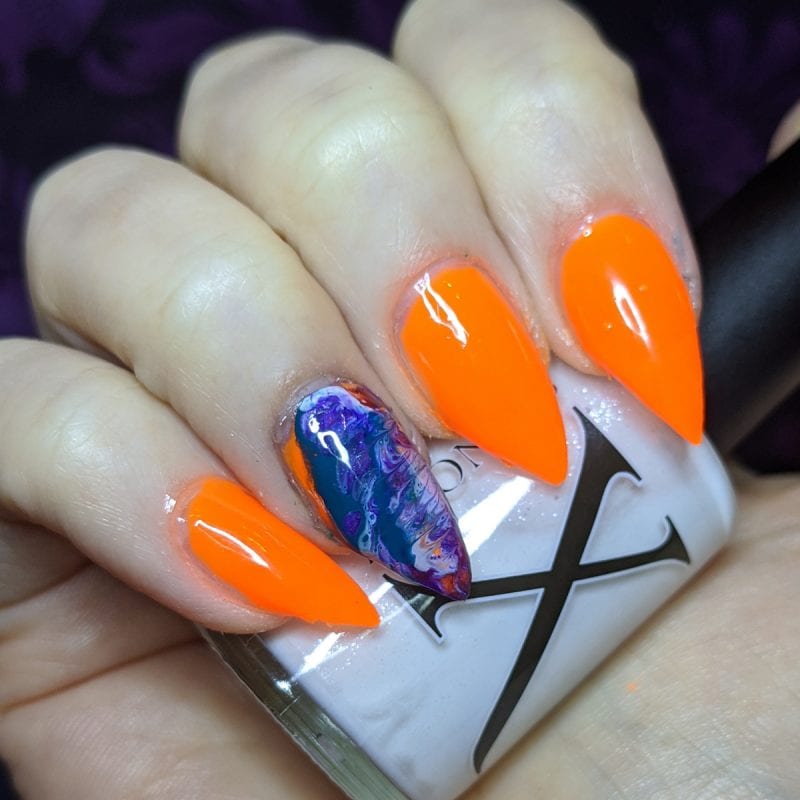
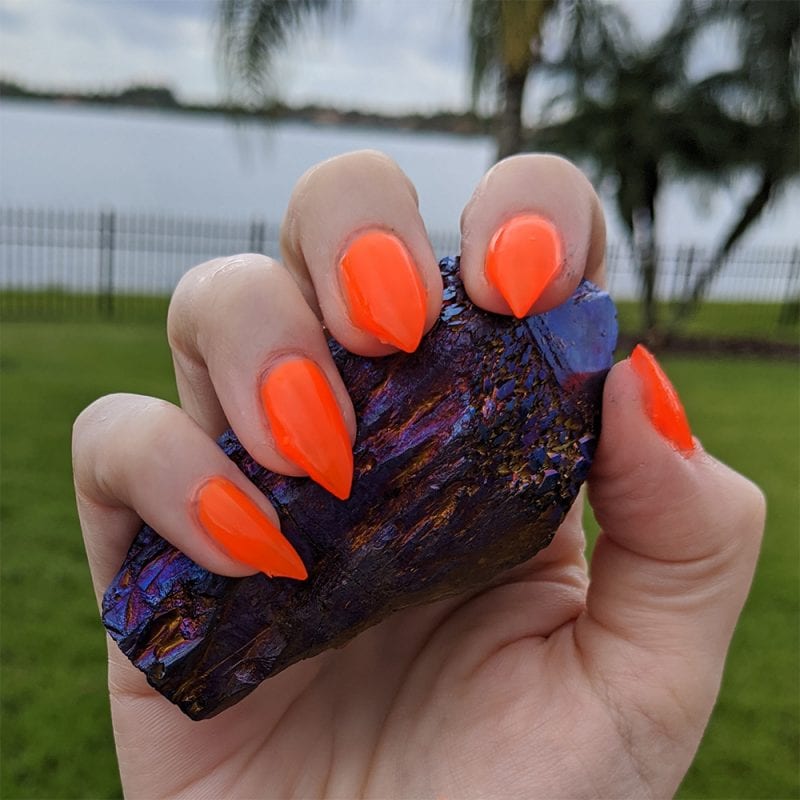
While I waited for the fluid art nail art decals to dry on the silicone mat, I painted my Baroness X Summer Fluid Art Nails.
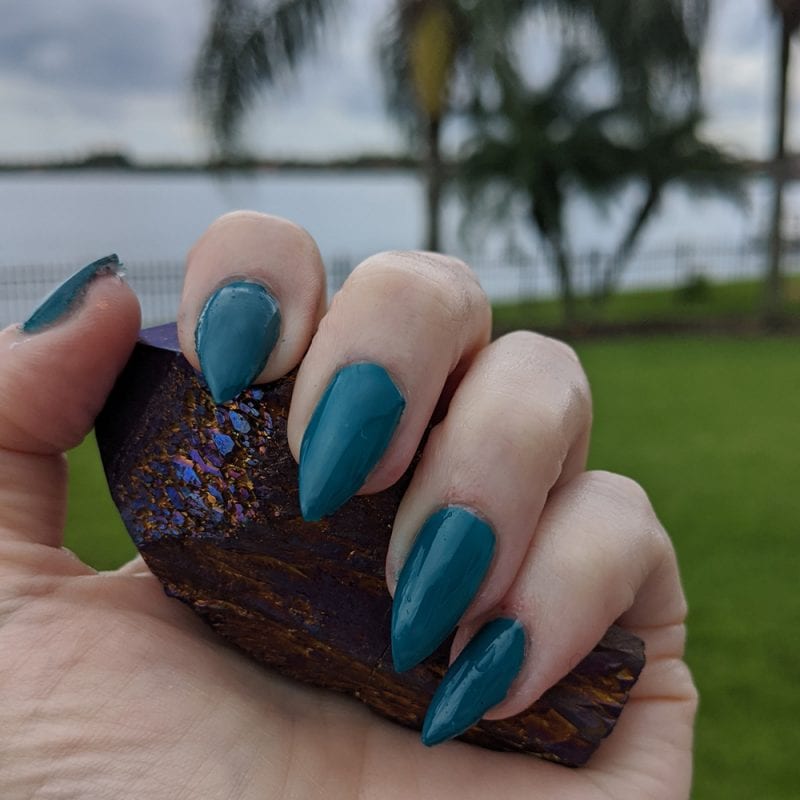
- After step 11 above, I painted two thin coats of Orly Teal Unreal on my left hand. I also applied two thin coats of Orly Melt Your Popsicle on my right hand.
- I applied a coat of GlitterDaze Super Smooth Topcoat to my nails and waited for it to fully dry.
- I used slanted tweezers to remove the decals for each hand.
- I roughly sized the decal to my nail and used nail art scissors to better shape the decal to my nails.
- I applied a tiny bit of the creme polish to my nail to make it ready for the decal.
- I poured a tiny bit of pure acetone into my nail polish remover cup, dipped my nail polish clean up brush into it, and used the acetone to help ‘melt’ the decal onto my nail and clean up the excess polish.
- After I was happy with how the decal had melded onto my nail, I applied a coat of GlitterDaze Super Smooth Topcoat.
My Fluid Art Nails
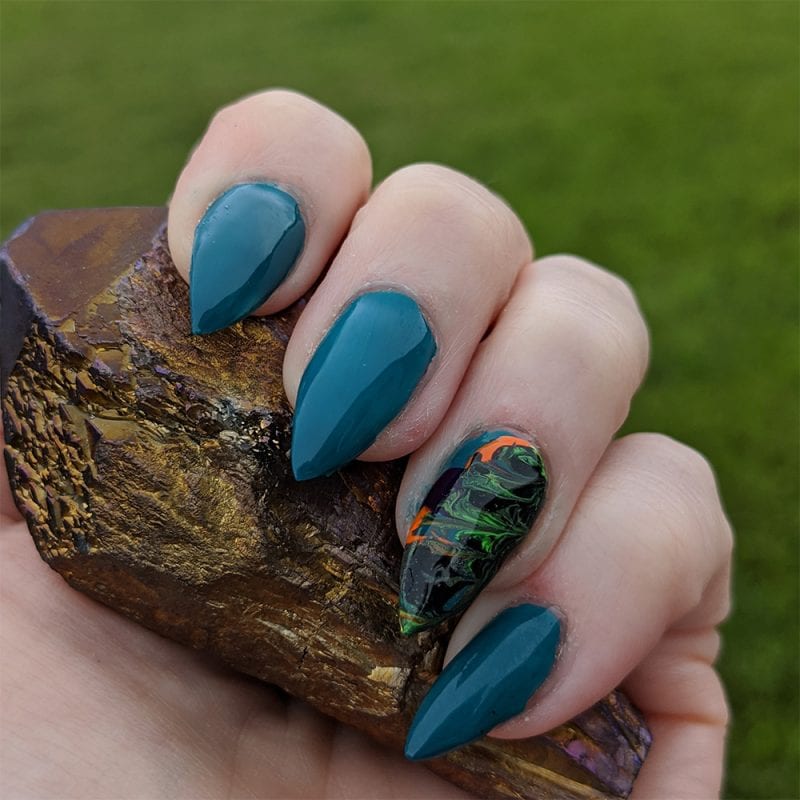
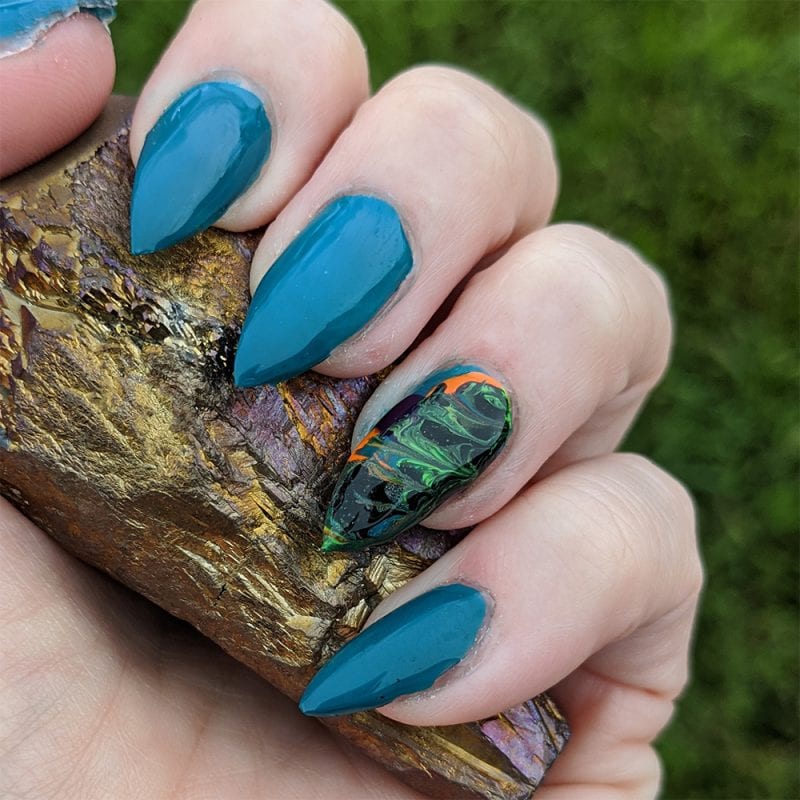
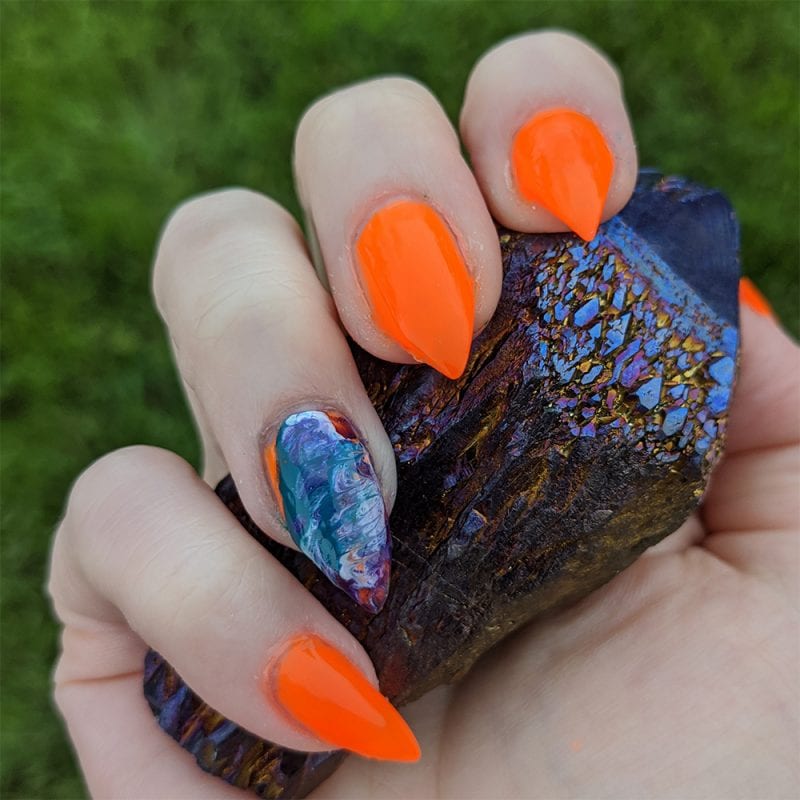
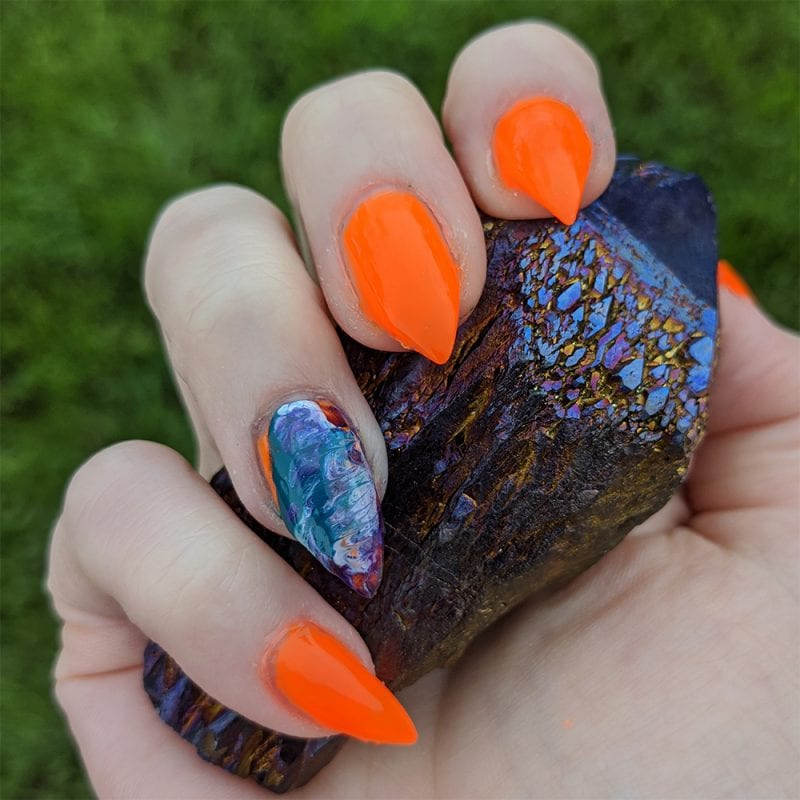
The sun wasn’t very cooperative for photos today, so these were taken in overcast, rainy conditions.
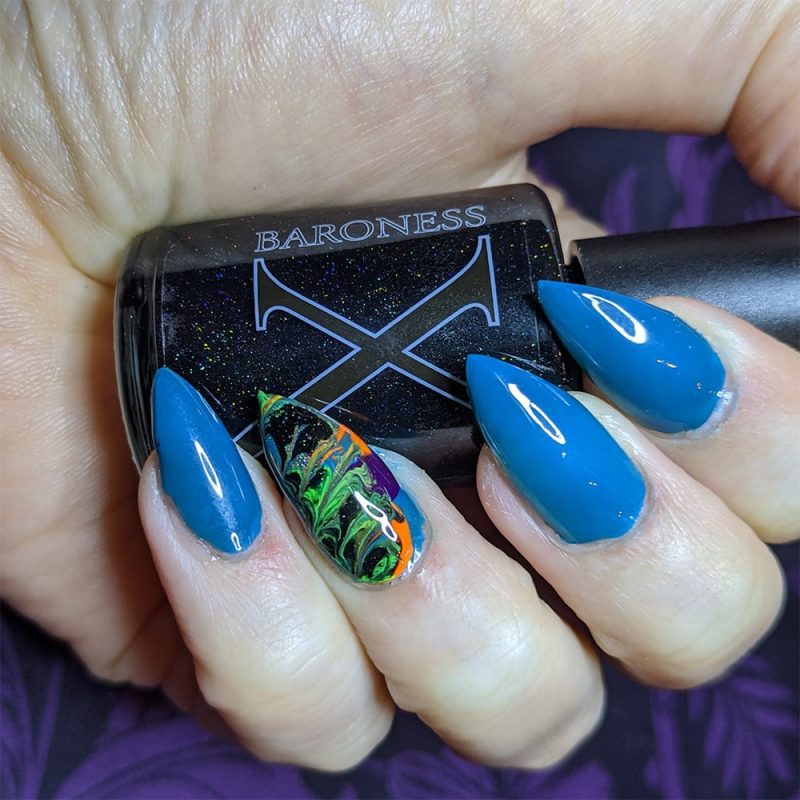
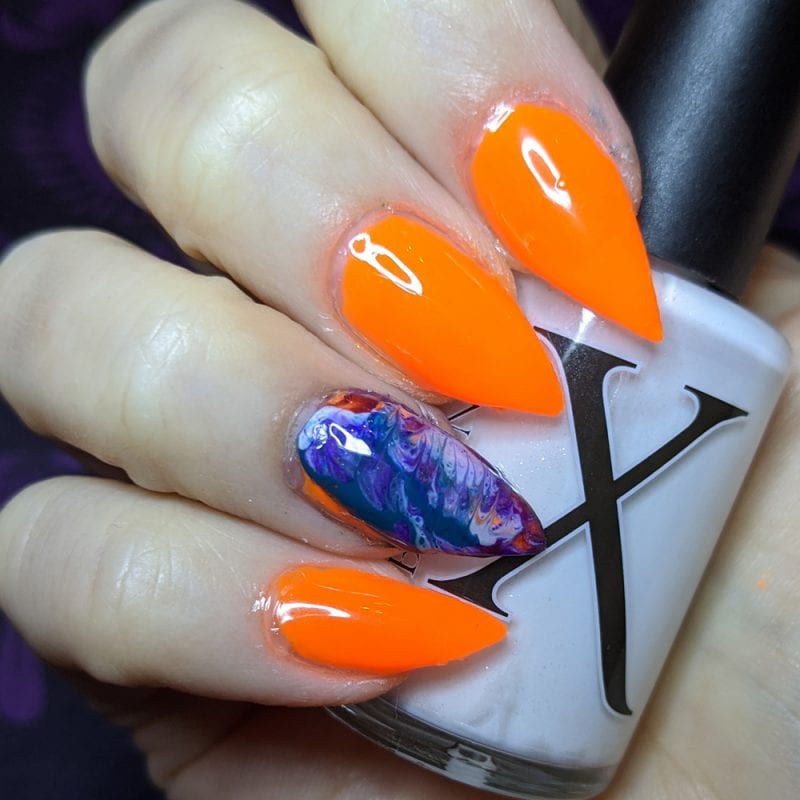
These are definitely the best results that I’ve had with the fluid art nails to date.
If you’re looking for a nail group to help you create nails like these, join my friend Maria’s group on Facebook. You can also join the Phyrra Nyx Facebook Group, too. Finally, my other favorite Facebook Group – Makeup But Make It Goth.
What do you think of Orly Builder in a Bottle and the Apres Tips? Would you try to recreate this at home? What about the Fluid Art? I love playing with fluid art!

Fluid nail art is so fun!
Have you done any videos on it? I would love them. I really enjoy your nail art videos.
Fluid art is absolutely amazing! I haven’t tried it yet but I love the look.
Ohhhh wow!!! That orange is amazing!!!!
You did a fabulous job! My favorites are the teal ..
I never would have thought to use ORLY’s Builder with Apres… I follow a tech who uses Apres exclusively and it always blows my mind how well the product is designed. I haven’t tried fluid art yet but I like how easy the instructions are and I have everything here at the house to try – looks like a good project for a weekend!
I admire your patience doing your nails like this! It turned out fabulous!
This is so cool! I have to try it one time!
Nice nails !!!thanku for sharing idea .
I love how yours turned out and I wish I had the time to do something like this. I barely have time to paint both hands, most of the time I only paint one lol, let alone do this amazing nail art.
I wish I had more patience to do stuff like this. It’s super pretty but I rarely paint my nails now!
Wow, you did an incredible job, Courtney!
Your nails look great!
When I stopped going out I bought a lot of nail products to do them myself. I can’t say I was as successful as you though.
Wow, that was a lot of work, but the results were fabulous and well worth it! I love the fluid art decals that you made.