Everyday Makeup Tutorial with Melt Cosmetics
Everyday Makeup Tutorial with Melt Cosmetics
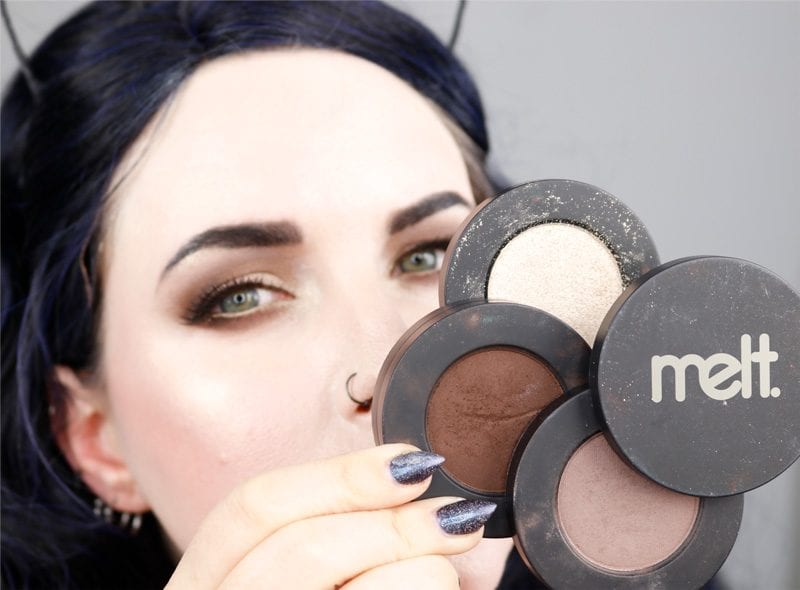
Today I’m sharing an everyday makeup tutorial with Melt Cosmetics. This is, of course, a cruelty free makeup tutorial. Melt Cosmetics is a Leaping Bunny Approved cruelty free makeup brand. Don’t worry if you don’t own these colors! I always include a ‘Shop Your Stash for Similar Shades’ section so that you can recreate with colors you already own. This makeup tutorial is great for hooded eyes but can be adjusted for all eye shapes.
What I’m Wearing
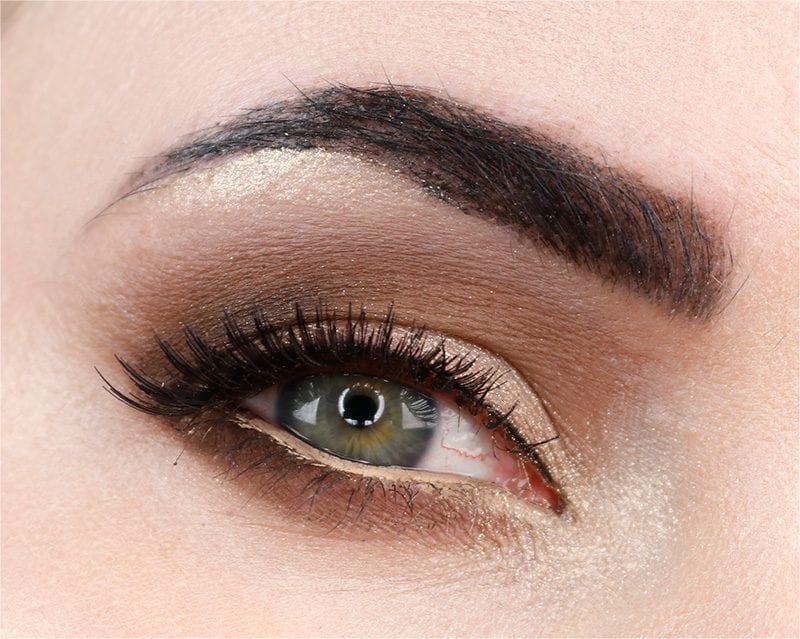
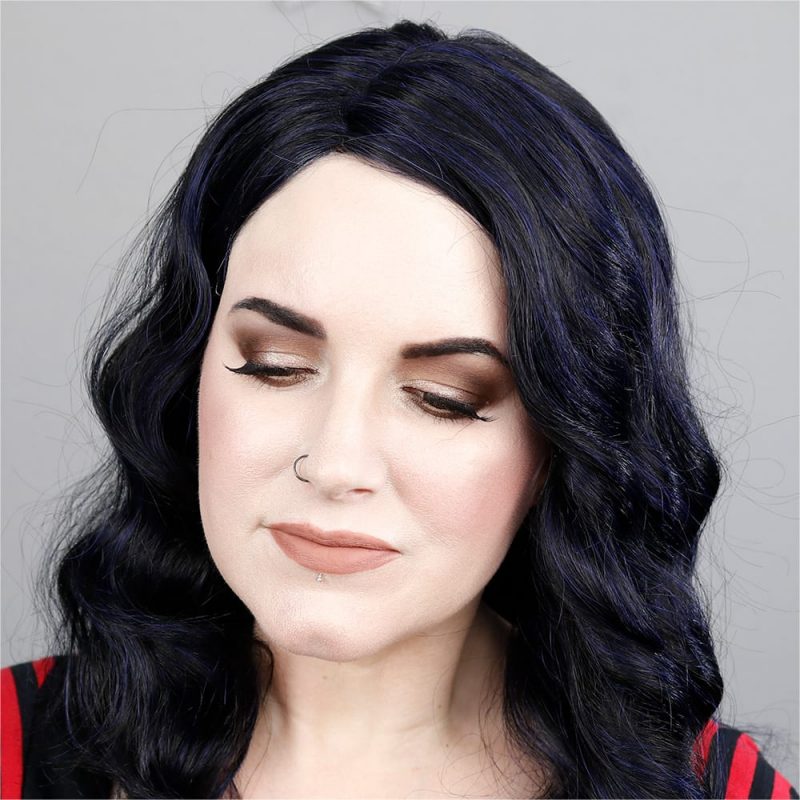


Eyes
Too Faced Shadow Insurance
Milani Setting Powder
Melt Assimilate (Gunmetal Stack) – transition
Melt Rott (Rust Stack) – outer v, outer upper and lower lash line, outer socket, blended, tightline
Melt Harsh Stone White (Gunmetal Stack) – damp under eyebrows, dry on lid and inner v, to highlight at inner corner
Kat Von D L42 Powder – to blend out edges of highlight and transition
Urban Decay Walk of Shame pencil – lower waterline
Kat Von D Tattoo Liner in Trooper
Urban Decay Perversion Mascara
Eylure 5 Accent Lashes
Wunderbrow in Jet Black
Face
Idun Minerals Norrsken foundation in Jorunn
Laura Geller Balance-n-Brighten in Porcelain (to set)
Glamour Doll Eyes Skeletina – contour
Bite Beauty Multistick in Lotus – blush
Urban Decay TMI – blush
TheBalm Balm Beach – blush
Tarte Stunner – highlight
Lips 1
Urban Decay Native pencil
Black Moon Gloom liquid lipstick
Lips 2
Kat Von D Bloodmilk pencil
Black Moon Abyss liquid lipstick
Lips 3
Urban Decay Frenemy pencil
Black Moon Genie liquid lipstick
Black Moon Luna lip topper
Everyday Makeup Tutorial with Melt Cosmetics

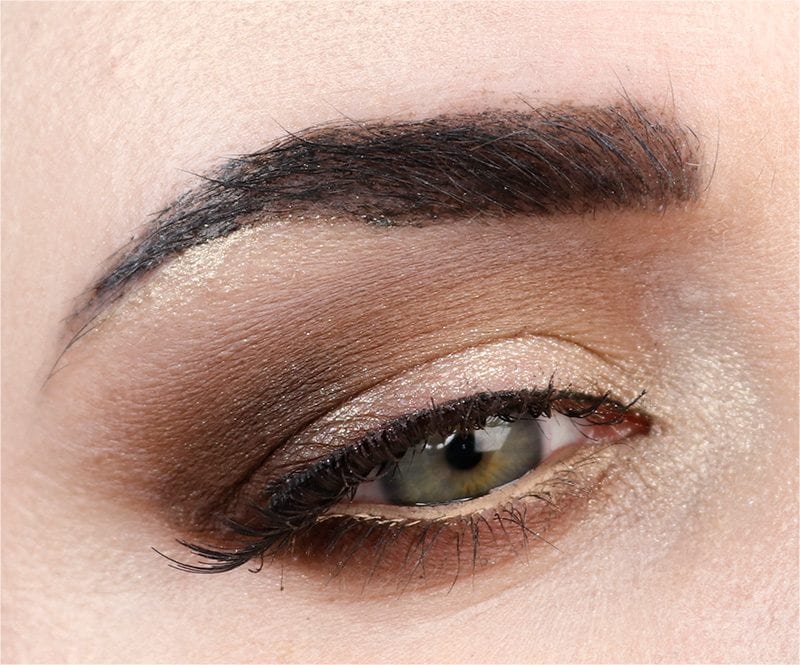
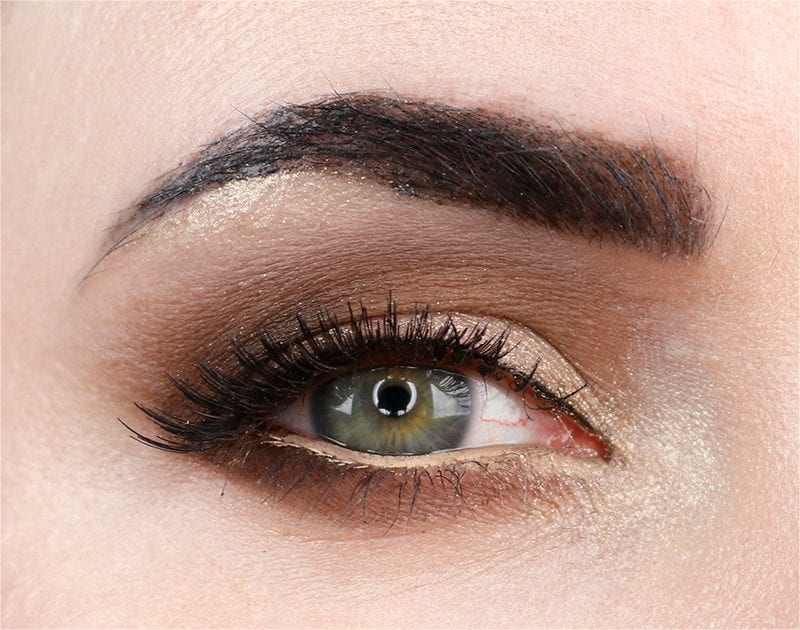
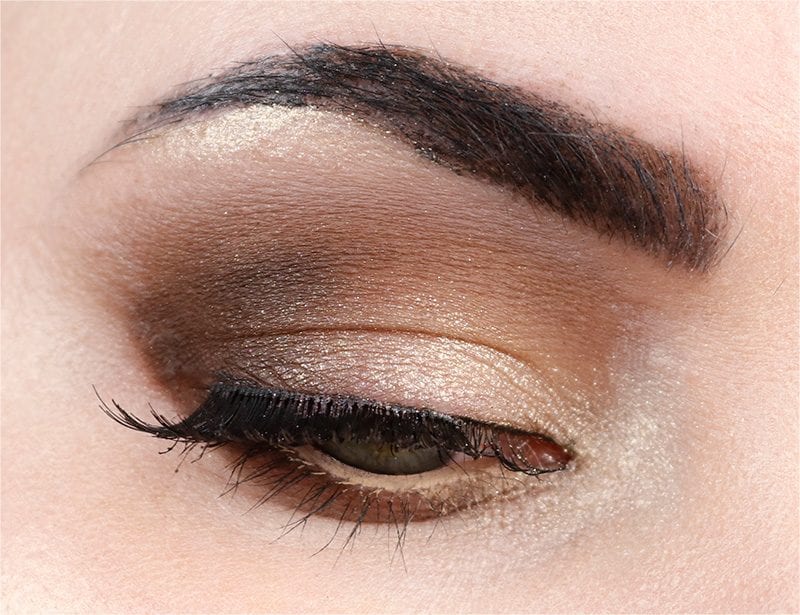
- With a fluffy brush, apply Melt Assimilate onto the hood of the eye, blending in little circles to make it blend seamlessly.
- Use a small brush to apply Melt Rott to the outer socket (outer v), the outer upper lash line and outer lower lash line, then blend it out with a fluffy brush.
- Pat Melt Harsh Stone White onto the lid and inner v.
- Tightline Rott through the roots of the upper lashes and the outer lower lashes. Smudge Rott at the outer 1/3 of the upper lash line.
- Draw a thin line along the upper lash line with Kat Von D Tattoo Liner in Trooper.
- Spritz your brush with Urban Decay All Nighter, then pat Harsh Stone White underneath the eyebrow to highlight.
- Use a skintone matte (I used Kat Von D L42 powder foundation) to blend out the edges of Harsh Stone White and Assimilate on the browbone.
- Blend out the outer v and crease with a fluffy brush to make sure there are no harsh lines.
- Apply mascara, then line the lower waterline with Urban Decay Walk of Shame pencil.
- Highlight the inner corner with Harsh Stone White on a fluffy brush. Optional: add Eylure Accent Lashes 05.
Shop Your Stash for Similar Shades
- Assimilate – deep taupe matte
- Rott – dark chocolate brown matte
- Harsh Stone White – champagne white shimmer
- L42 – cool-toned creamy beige matte
I think I would have liked this better if I’d used a deeper grey taupe like Urban Decay Desperation instead of Rott. I really love the texture and pigmentation of Assimilate, as it’s a great taupe for my eye color. Harsh Stone White isn’t really white at all, it’s more like a champagne shade. It’s a nice eye brightener.
Any lip color will work with this everyday makeup tutorial. I’m not sure which I like best. Gloom is a nice nude type shade, while Abyss is a lovely deep oxblood. Genie is an awesome bright fuchsia, perfect for summer, really.
Which color do you like best? Would you wear my Everyday Makeup Tutorial with Melt Cosmetics? Let me know!

beautiful. love the fall coppery eye-shadow with the purplish/blue tone wigs.
Pretty tutorial using Melt Cosmetics, great choices for all 3 lip combinations.
I would for sure use UD Desperation for myself instead of Rott (I don’t have Rott, but I do have similar colors). The Gunmetal Stack is one of my very favorite eyeshadow sets EVER, and Desperation is one of my favorite UD colors, so this would be a perfect eye look for me!
Great tutorial! I love how you showed it with several different lip colors.
Love it!